As we head into June—and with it, the beautiful months of summer—our thoughts turn frequently to wedding and baby showers. In this season of new love and new life, you may find yourself hosting someone else’s day of honor. And if so, looking for a few decorations, like a beautiful wishing well basket, to really make that day special.
At The Basket Lady, we get lots of calls for how to make wishing well baskets for baby showers and bridal showers. So today, we’re sharing two alternate ways to make a beautiful wishing well basket your guests (and guest of honor) will love. Even better: both wells are “deconstructable,” meaning you can easily take your creation apart and put the basket to other uses after the big day. Or, give the basket to the guest of honor as part of their gifts.
There’s a wishing well basket for every size space. Choose from a tabletop model or a life-size version complete with a roof.
Ready . . . set . . . create!
OPTION 1 - LARGE STANDING WISHING WELL BASKET
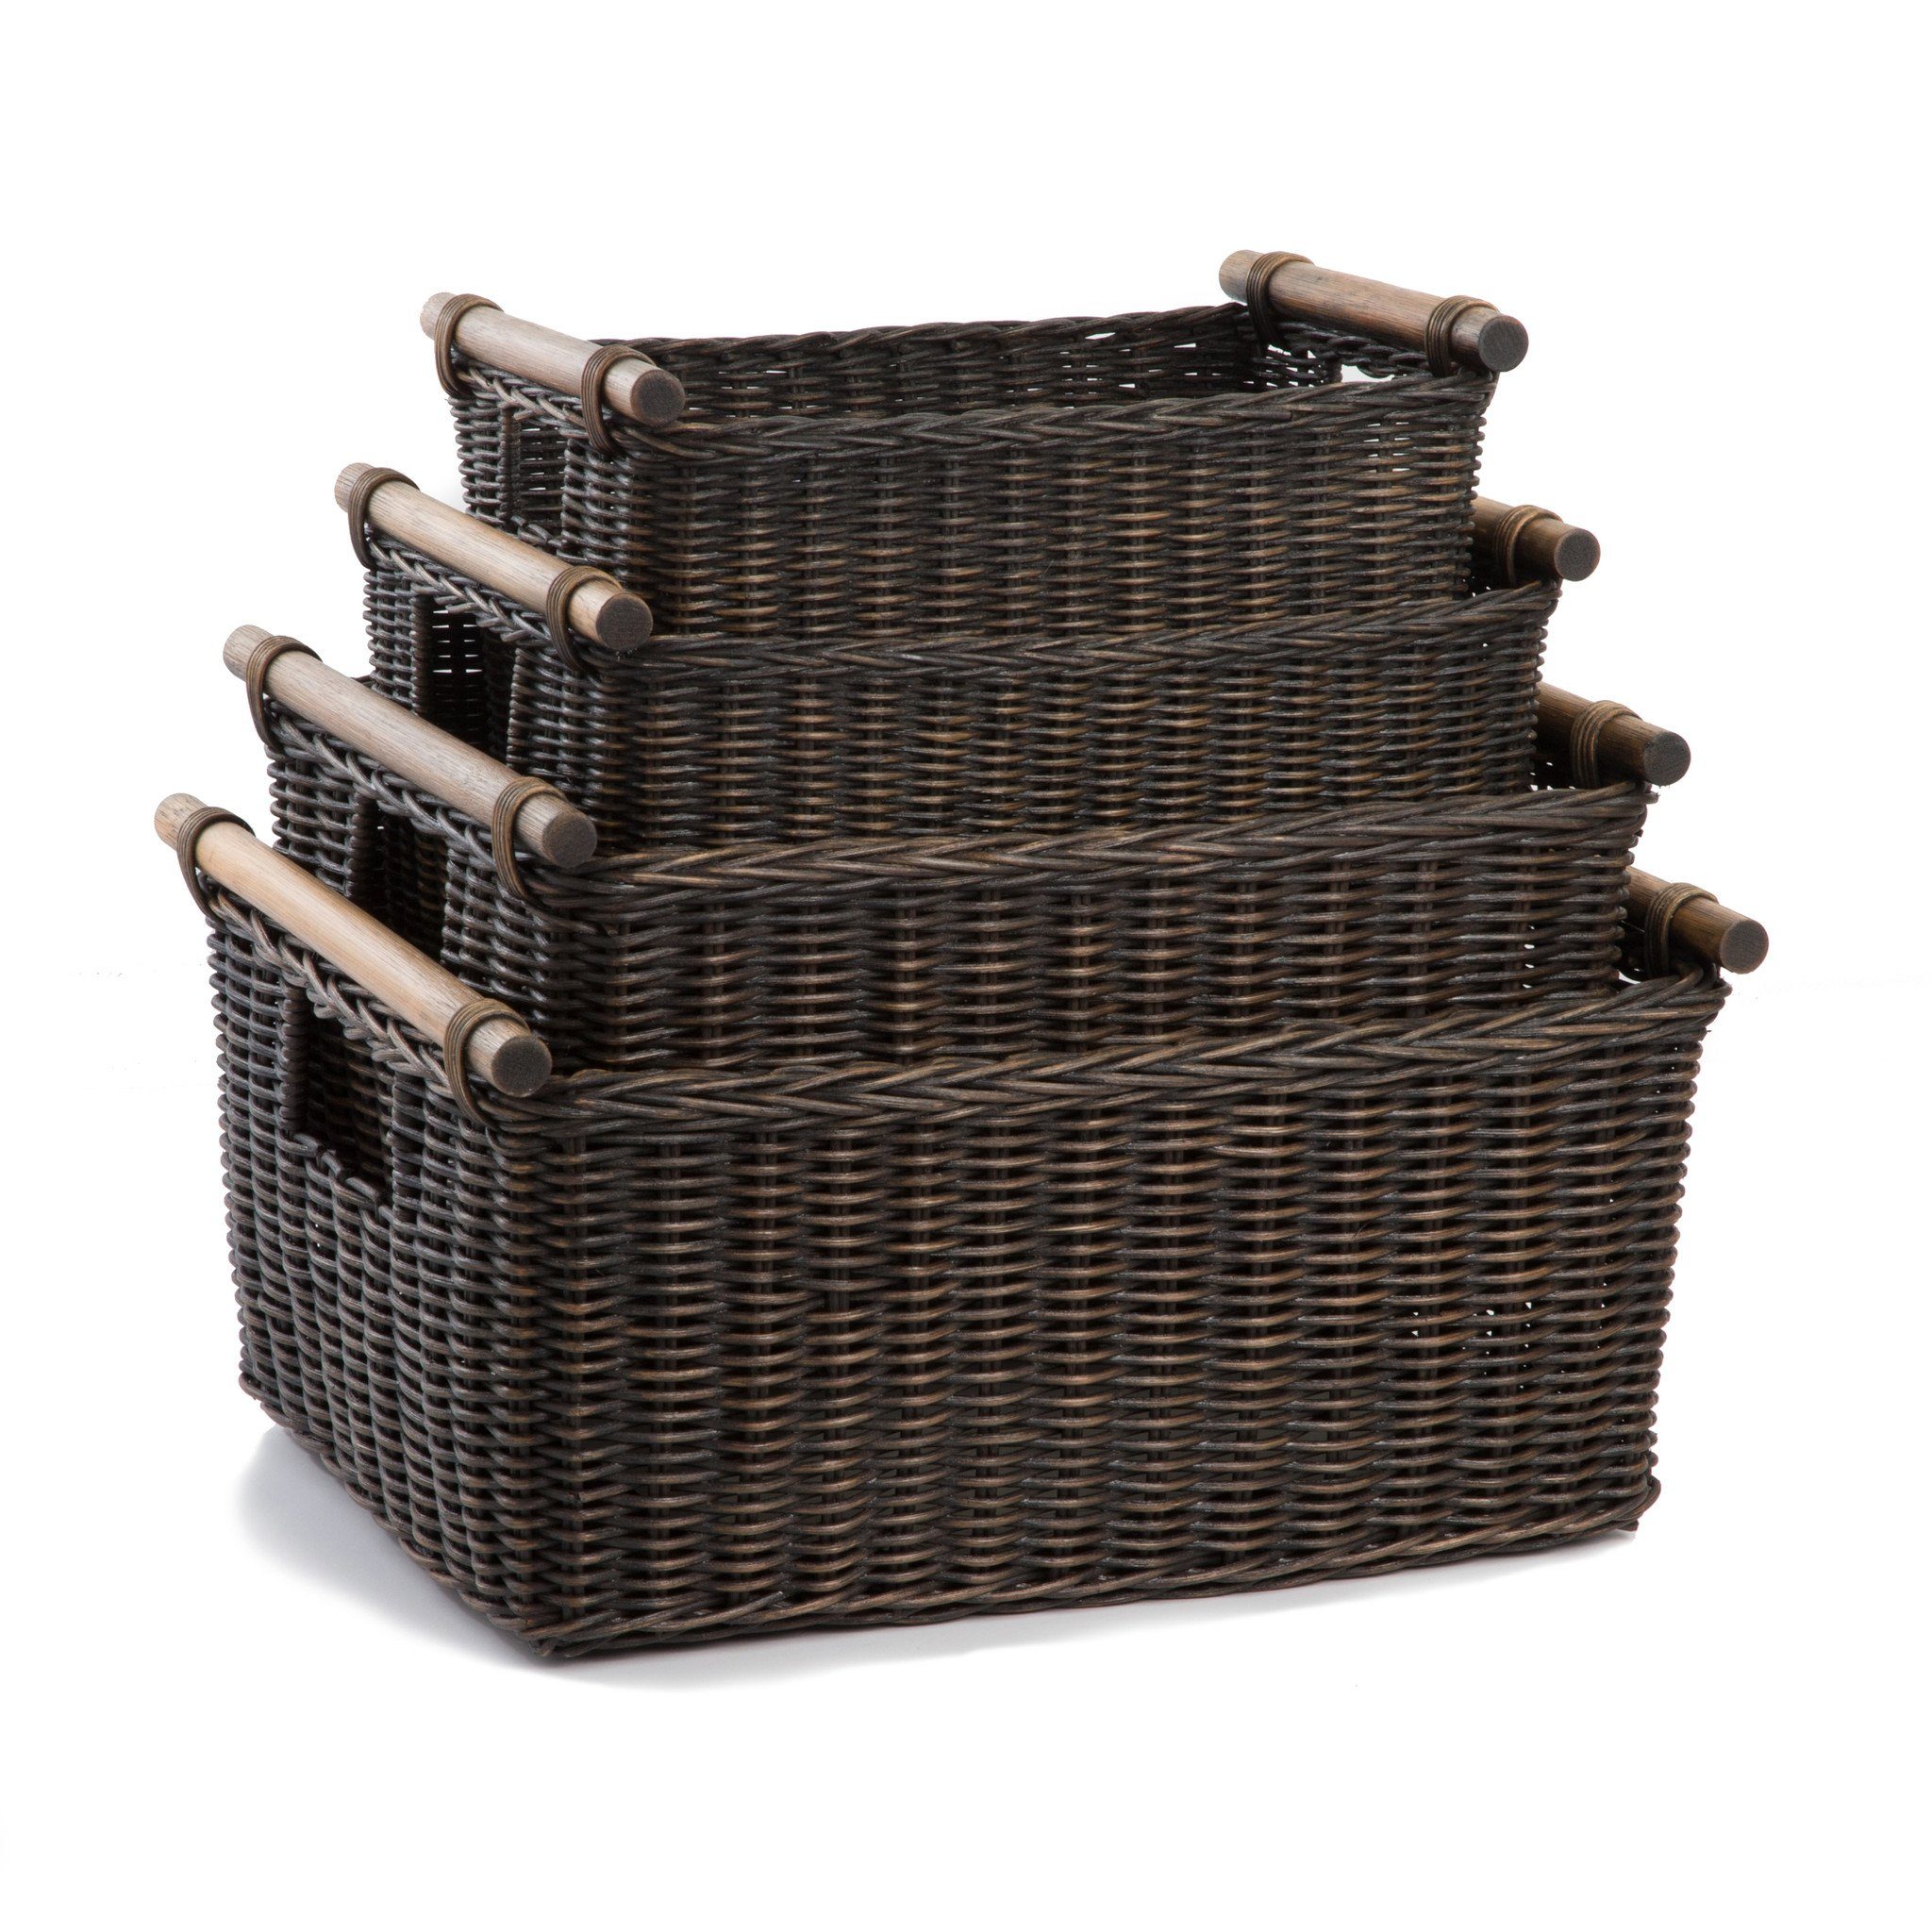
For a dramatic presentation, this stand-on-the-floor wishing well feels almost as big as a real well. Its ample size makes it perfect for both cards and gifts—helping to amplify the ambiance while minimizing clutter. You will need:
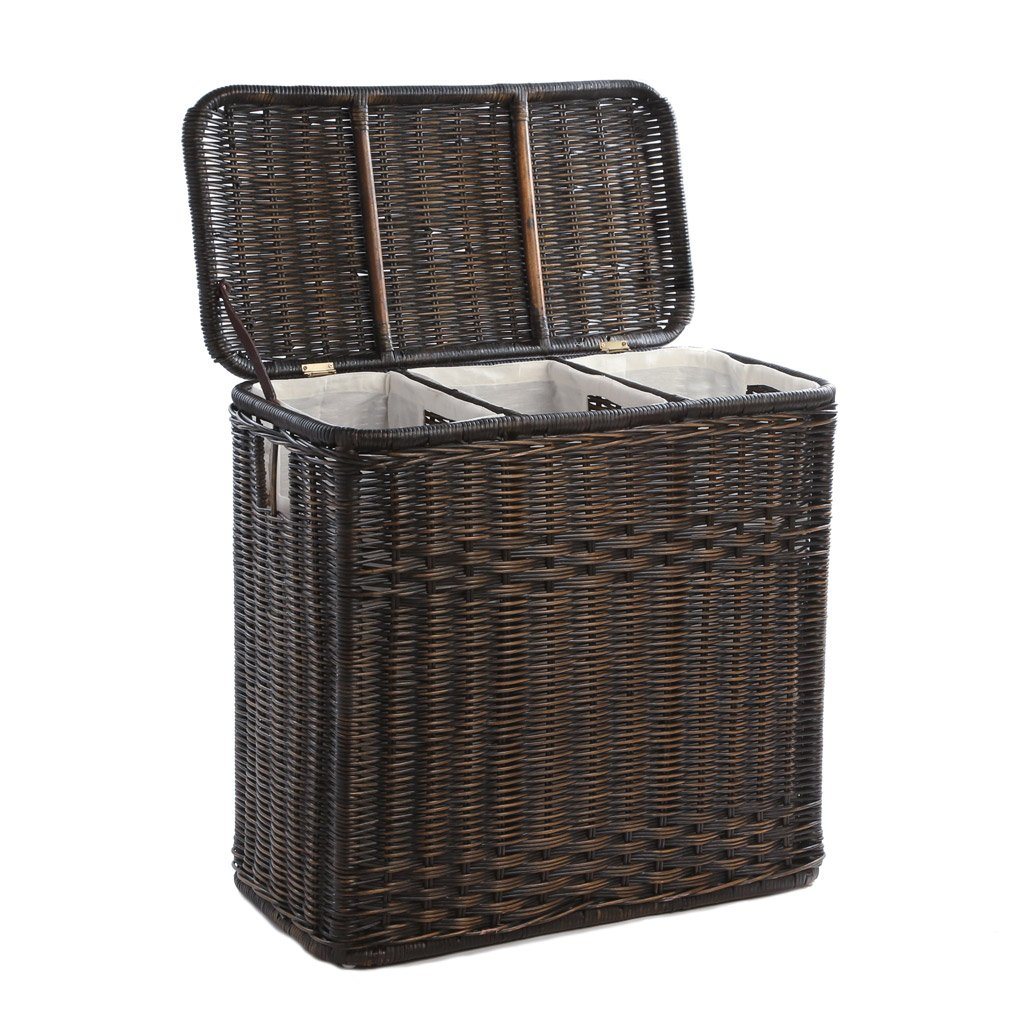
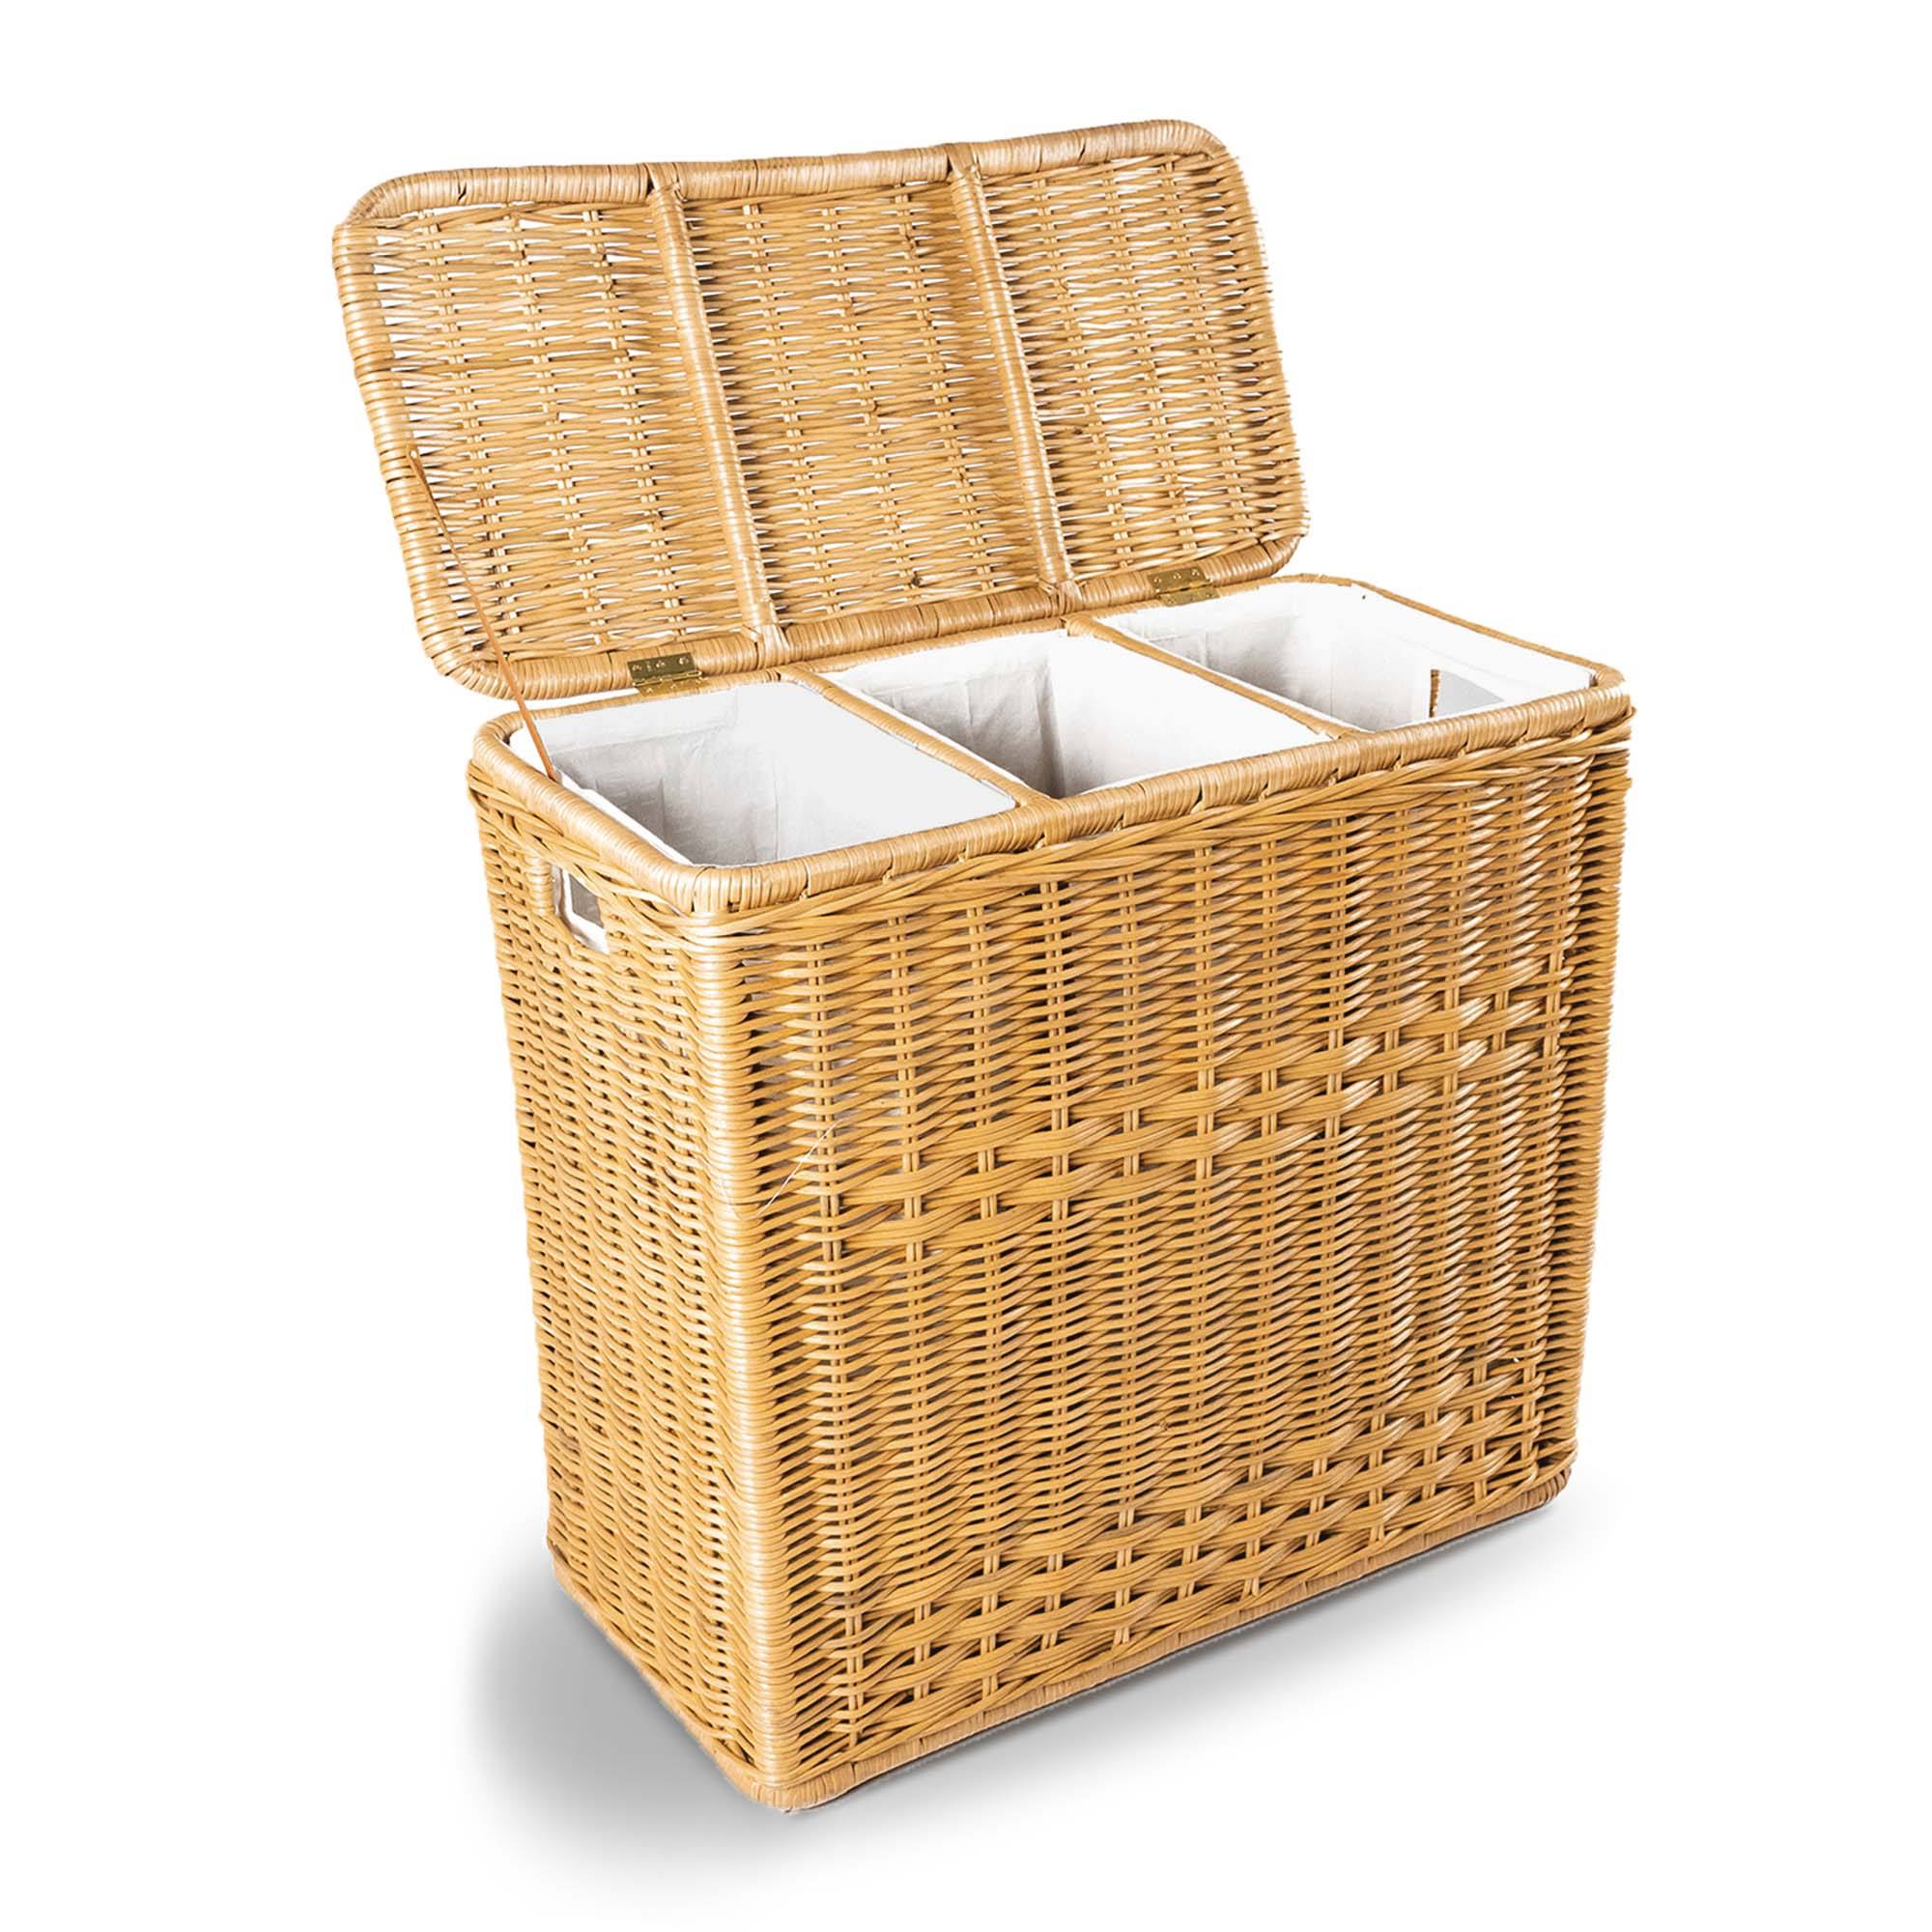
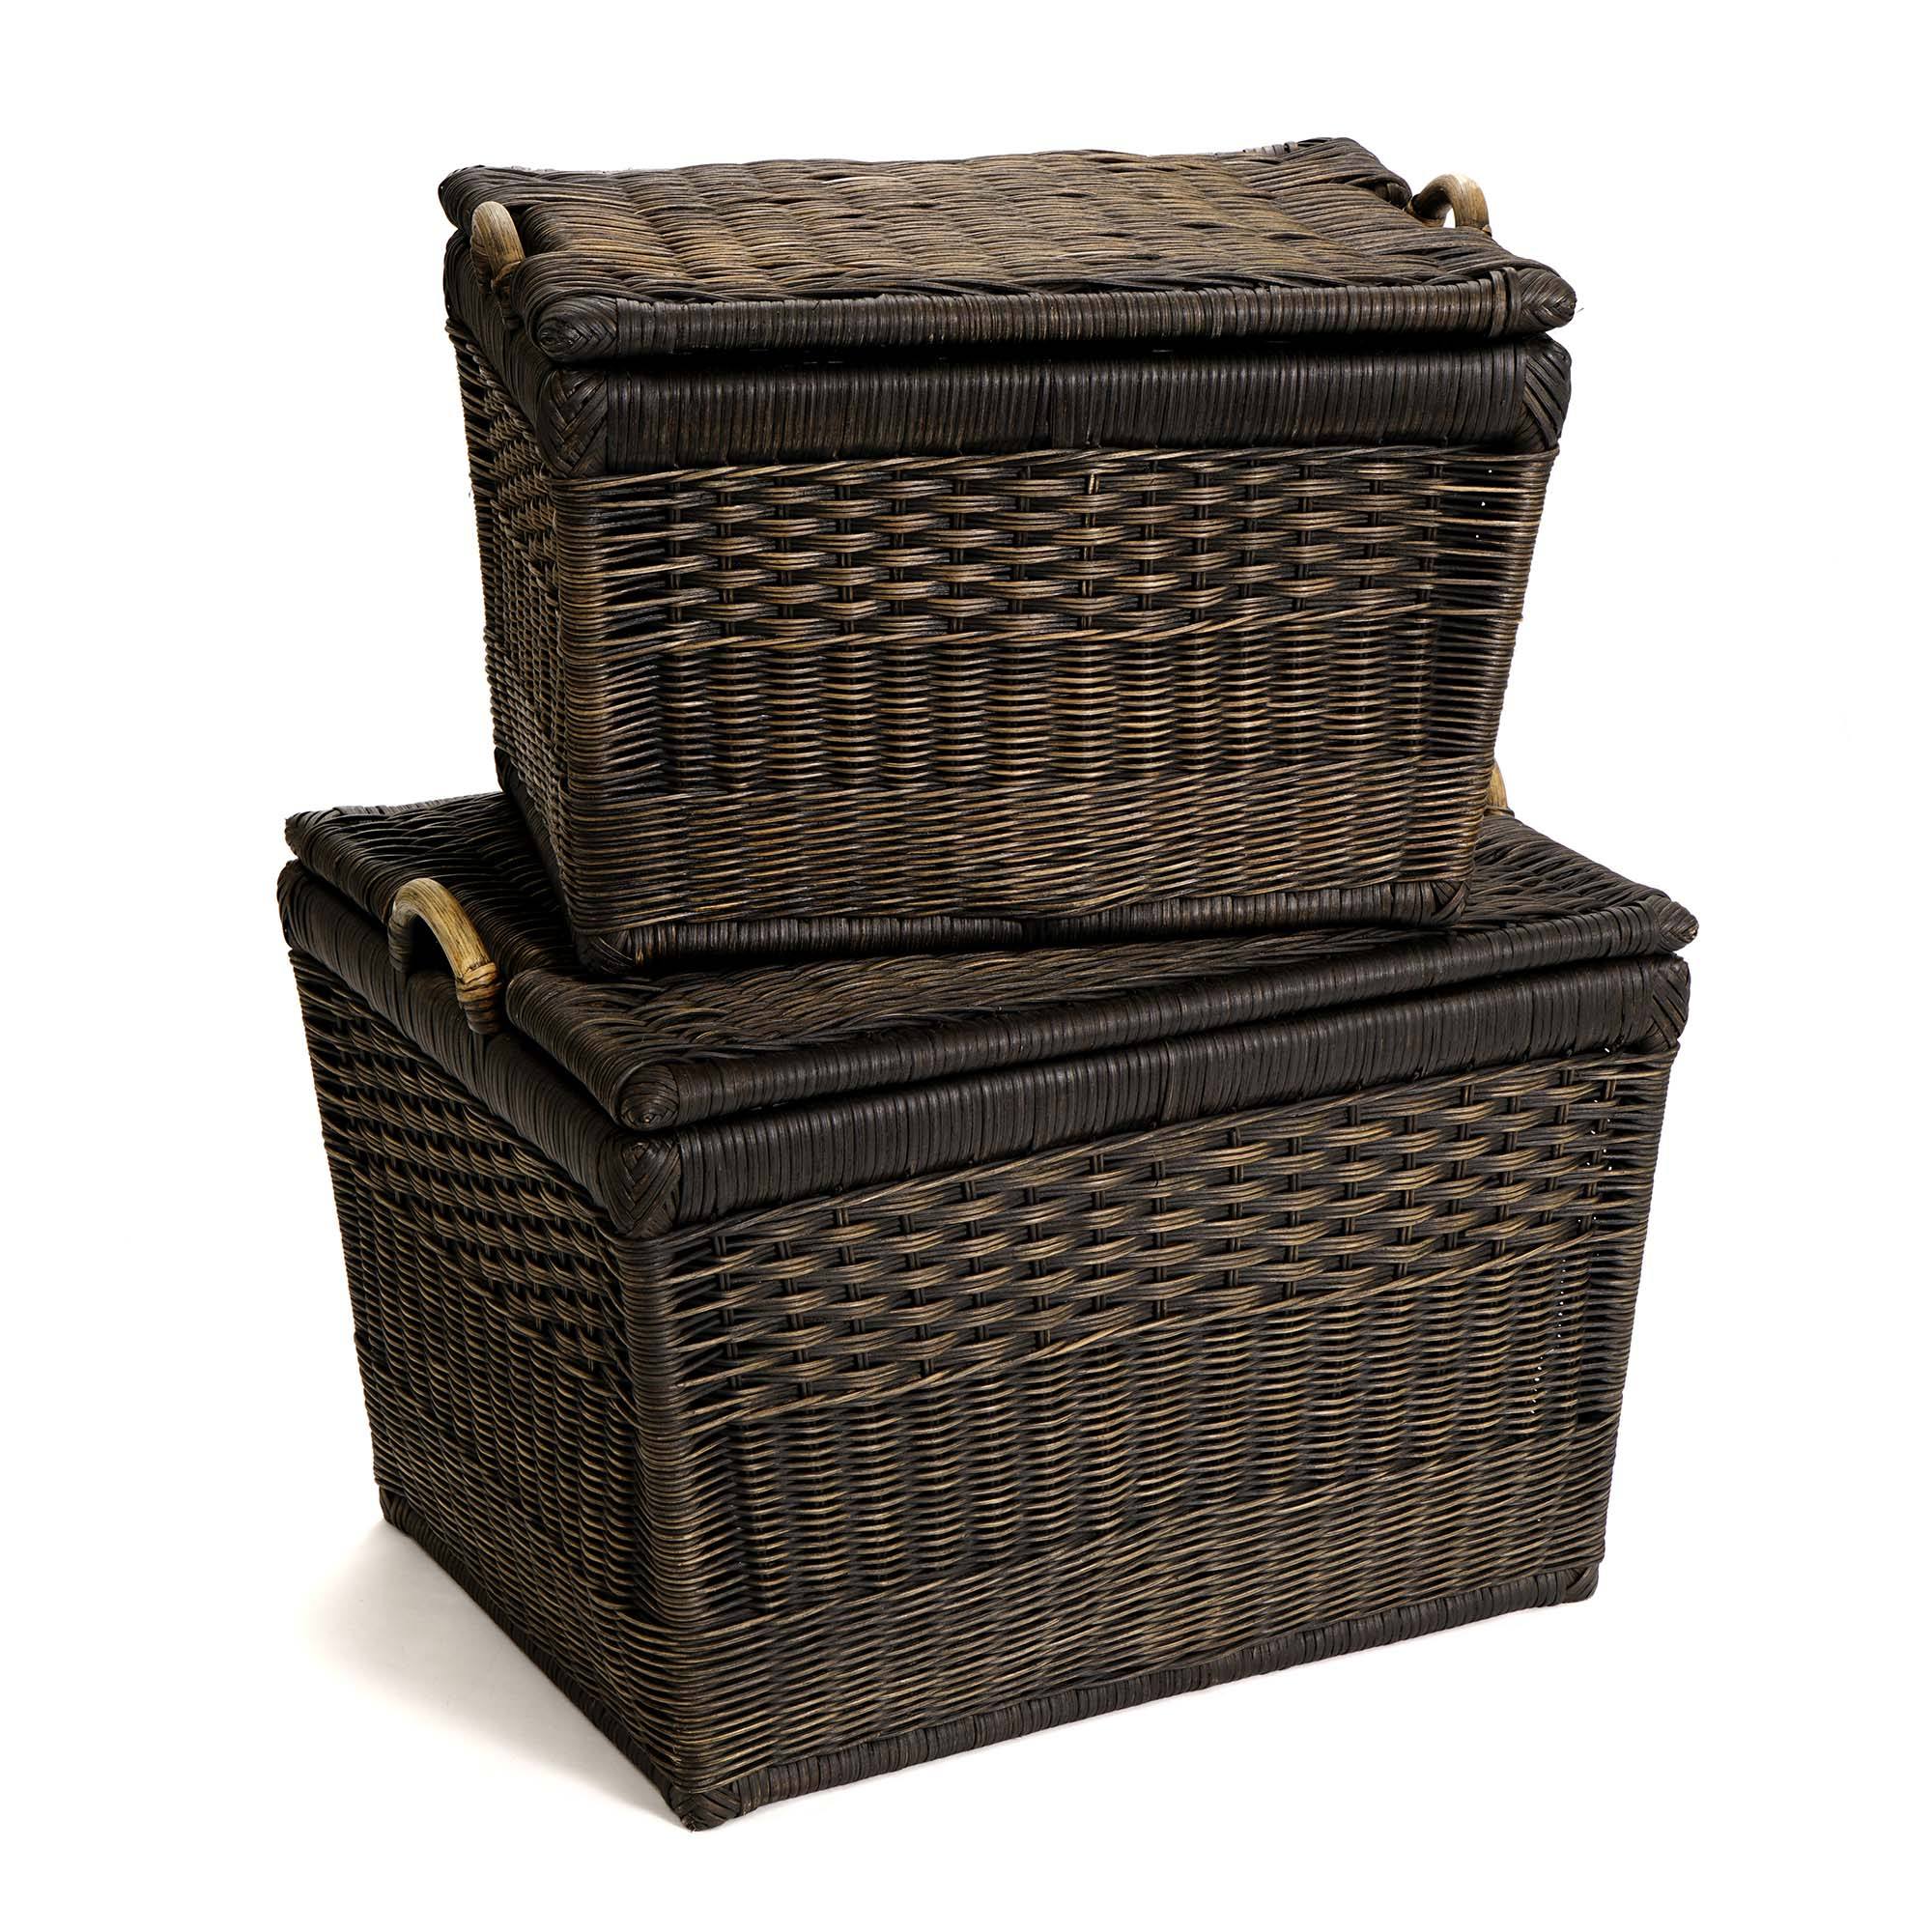
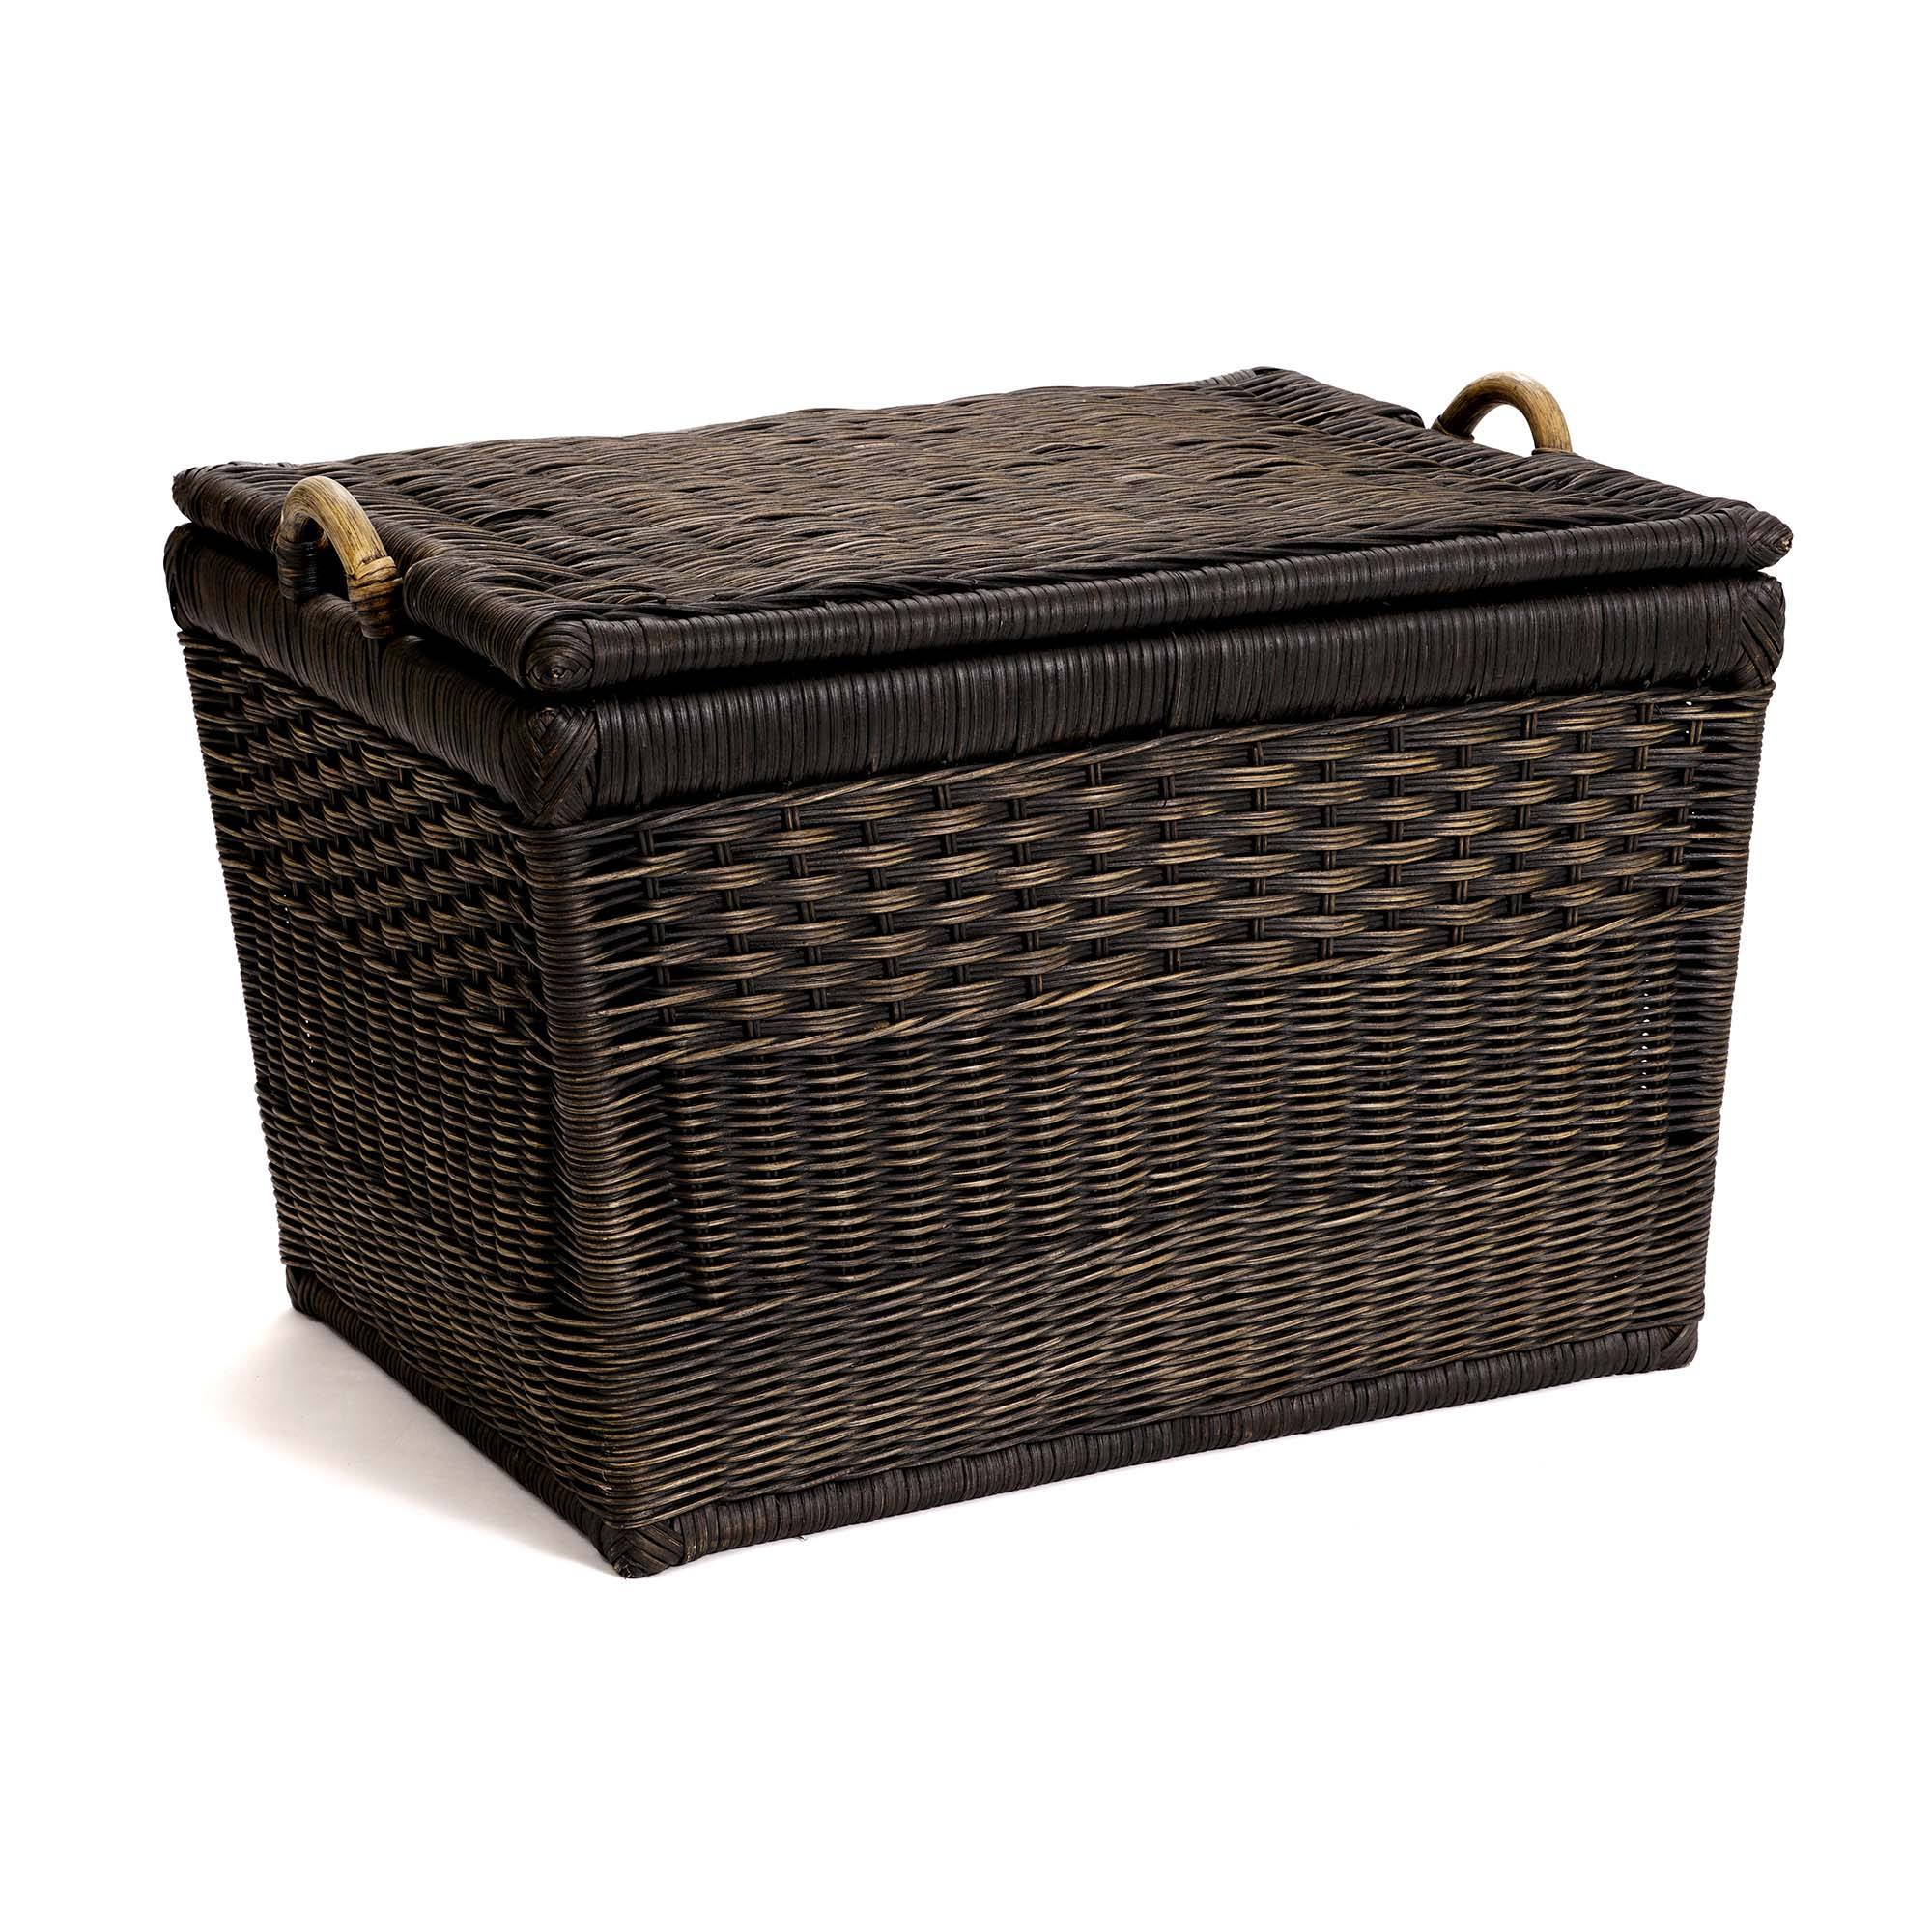
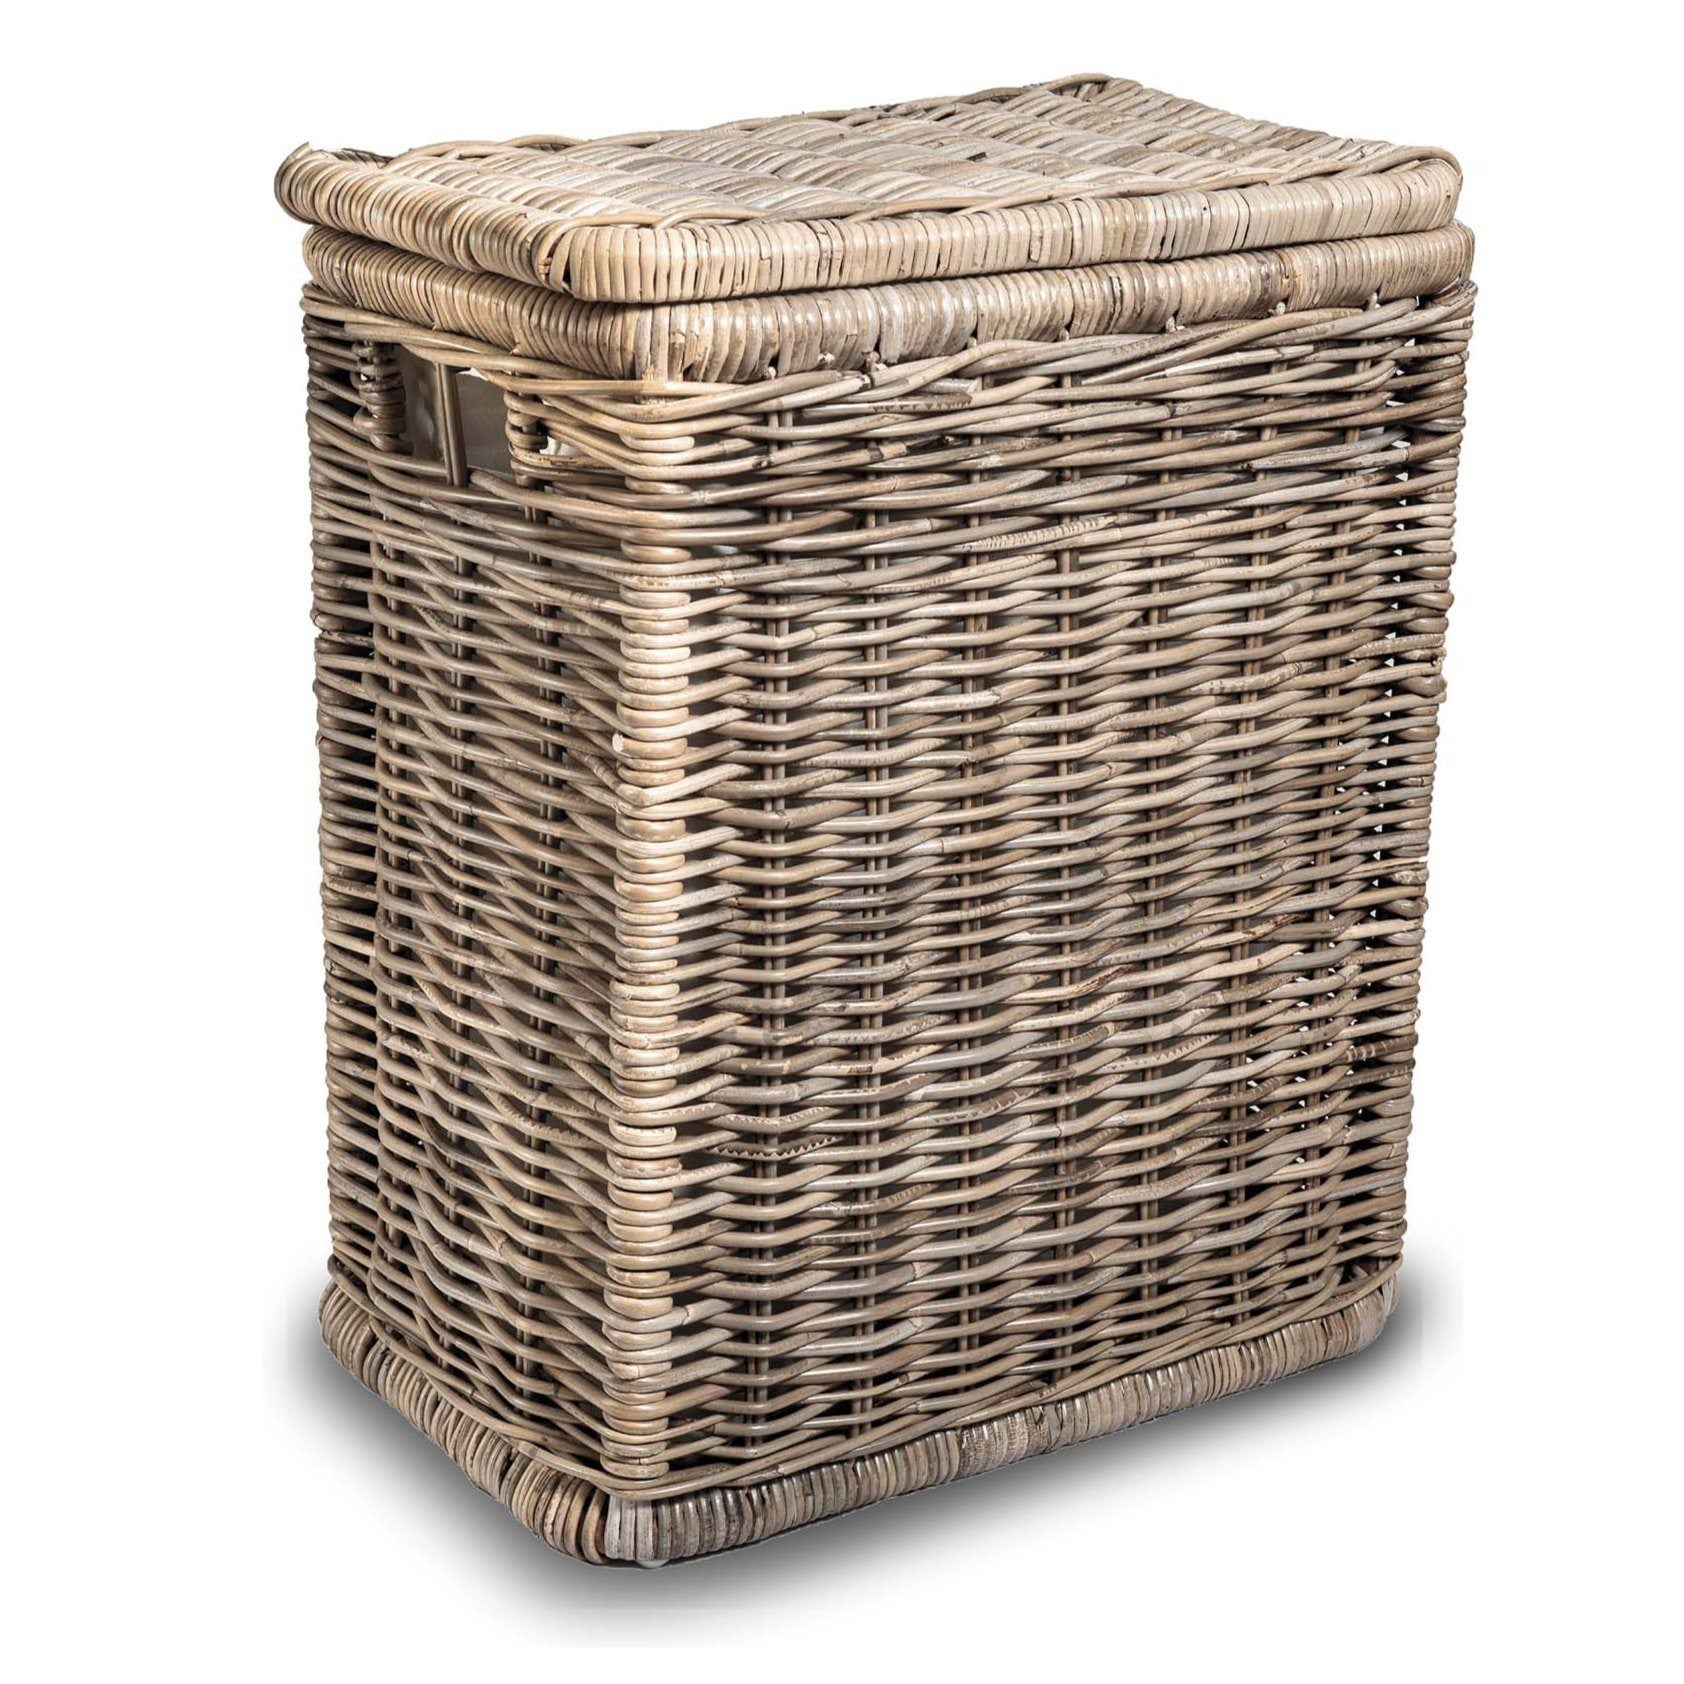
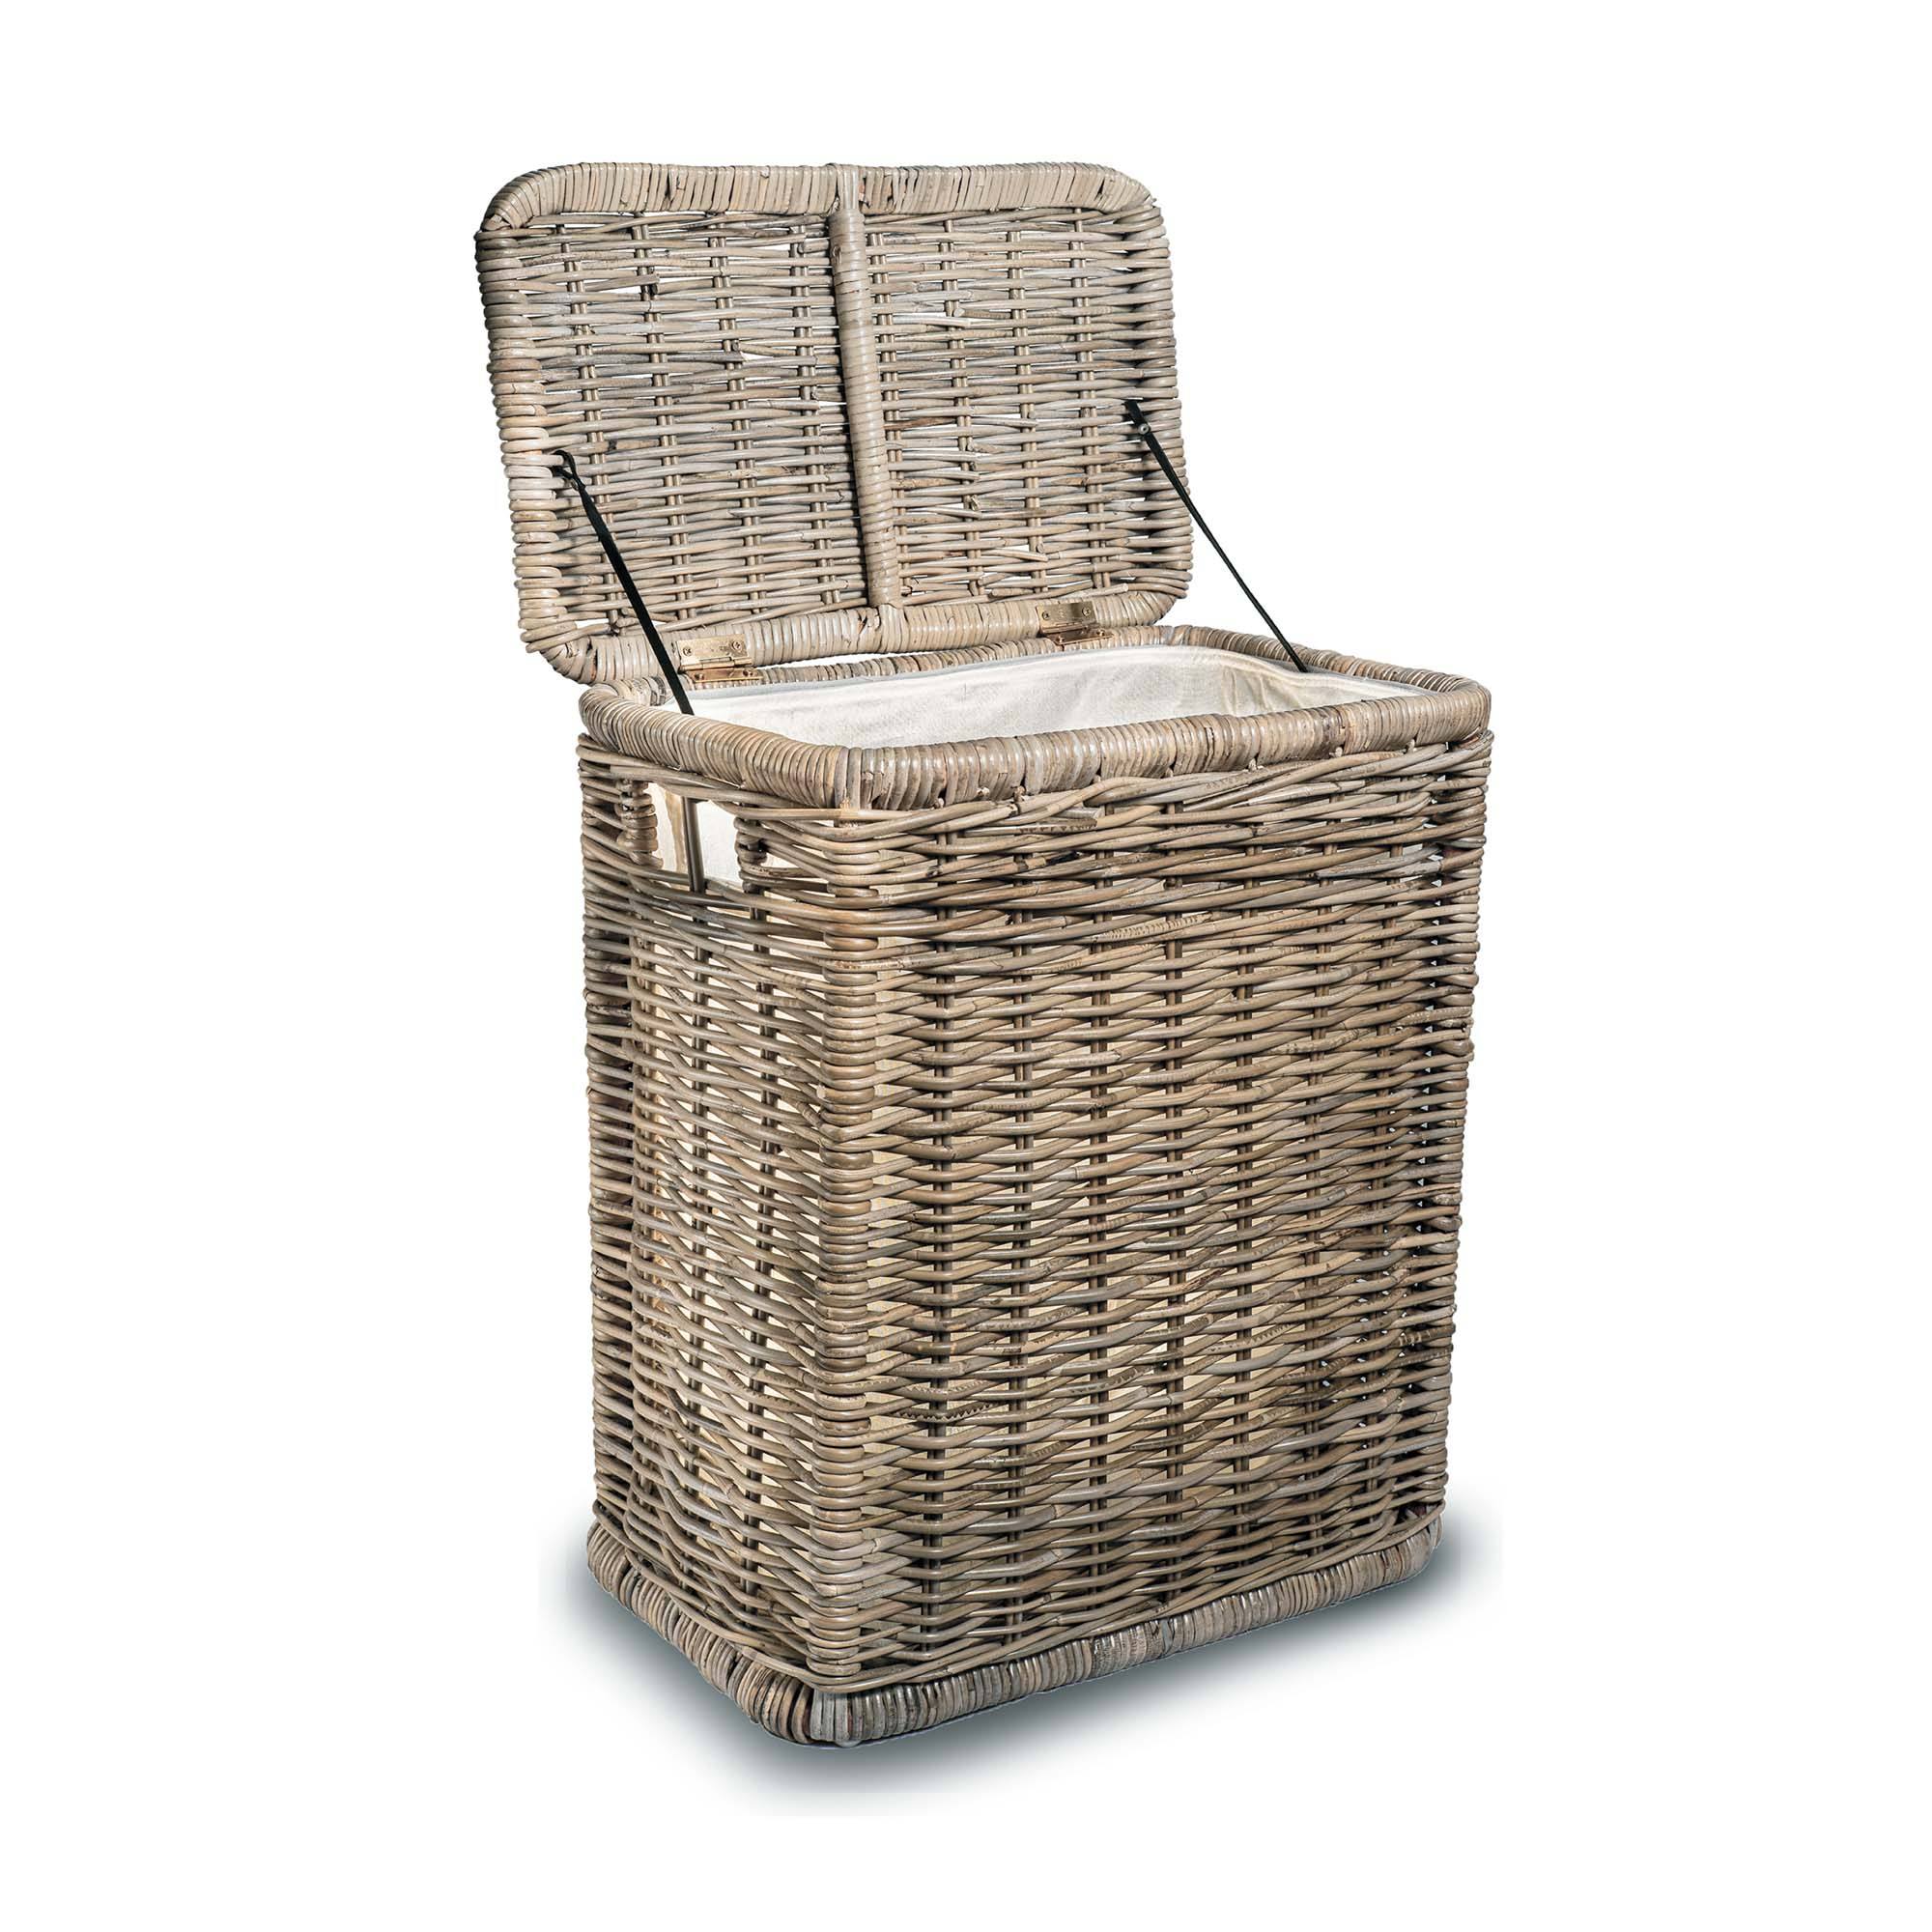
- - Our Oval Wicker Laundry Hamper or Kubu Square Storage Tote Basket
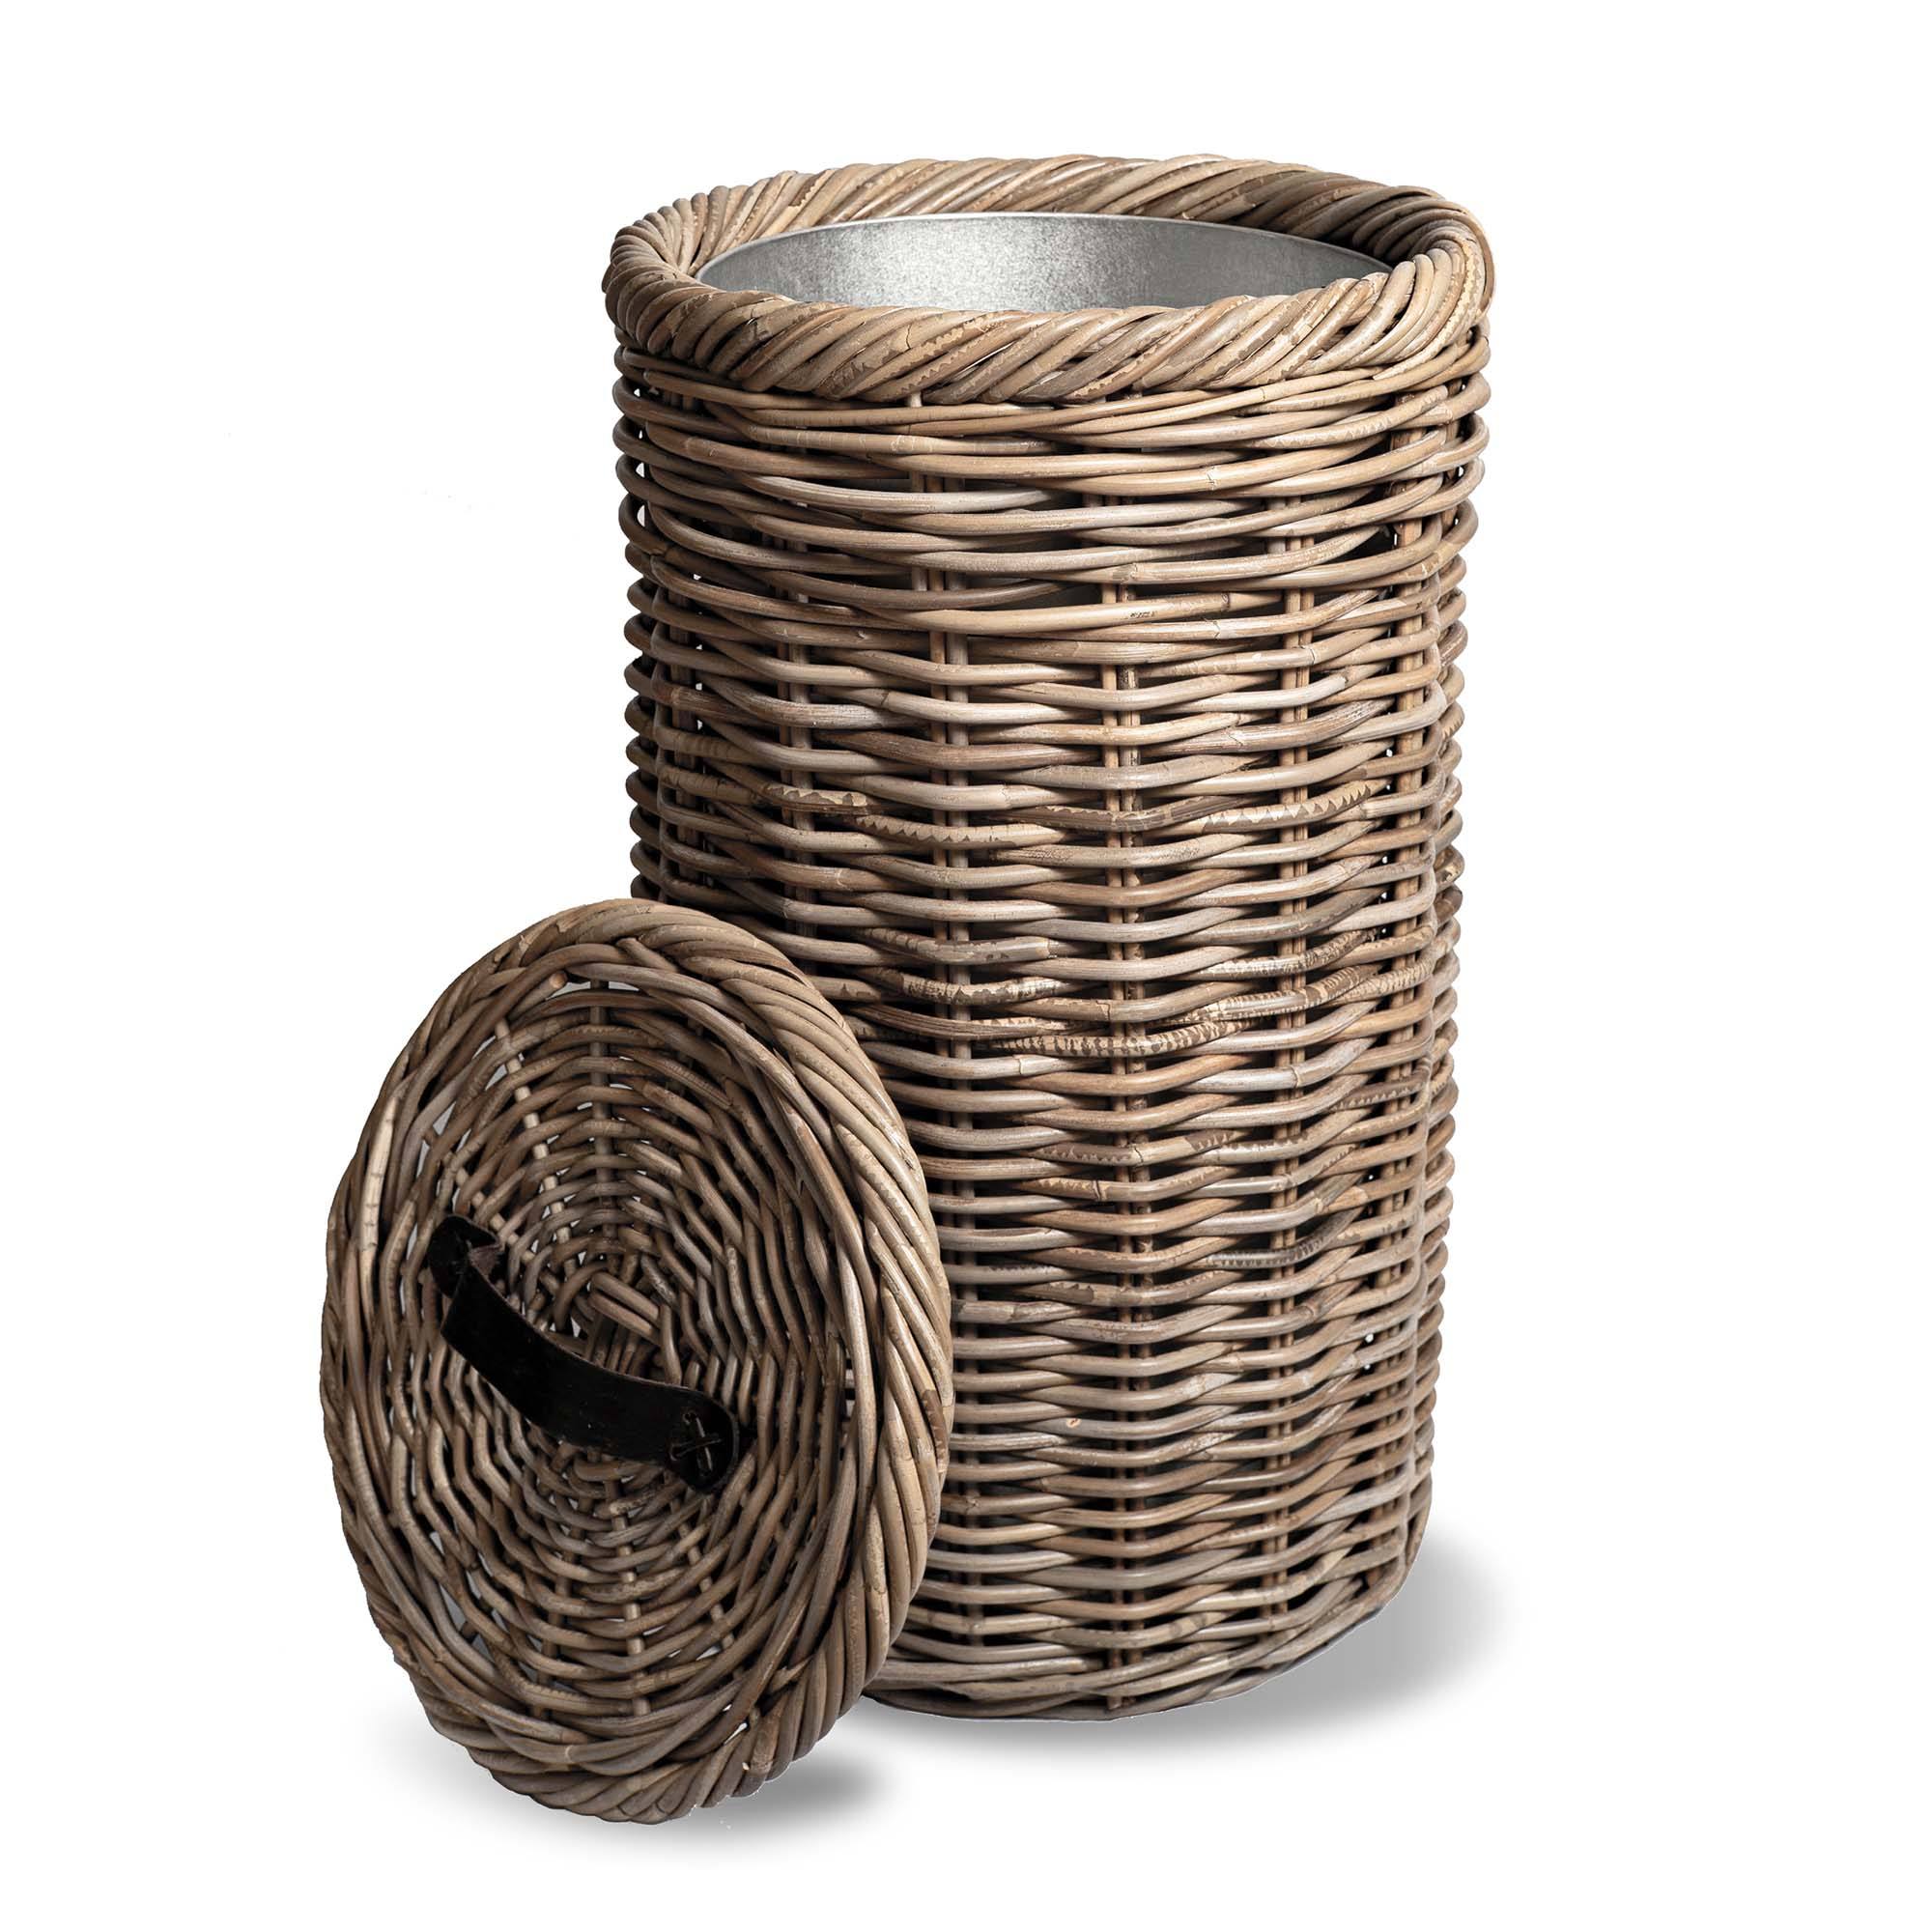
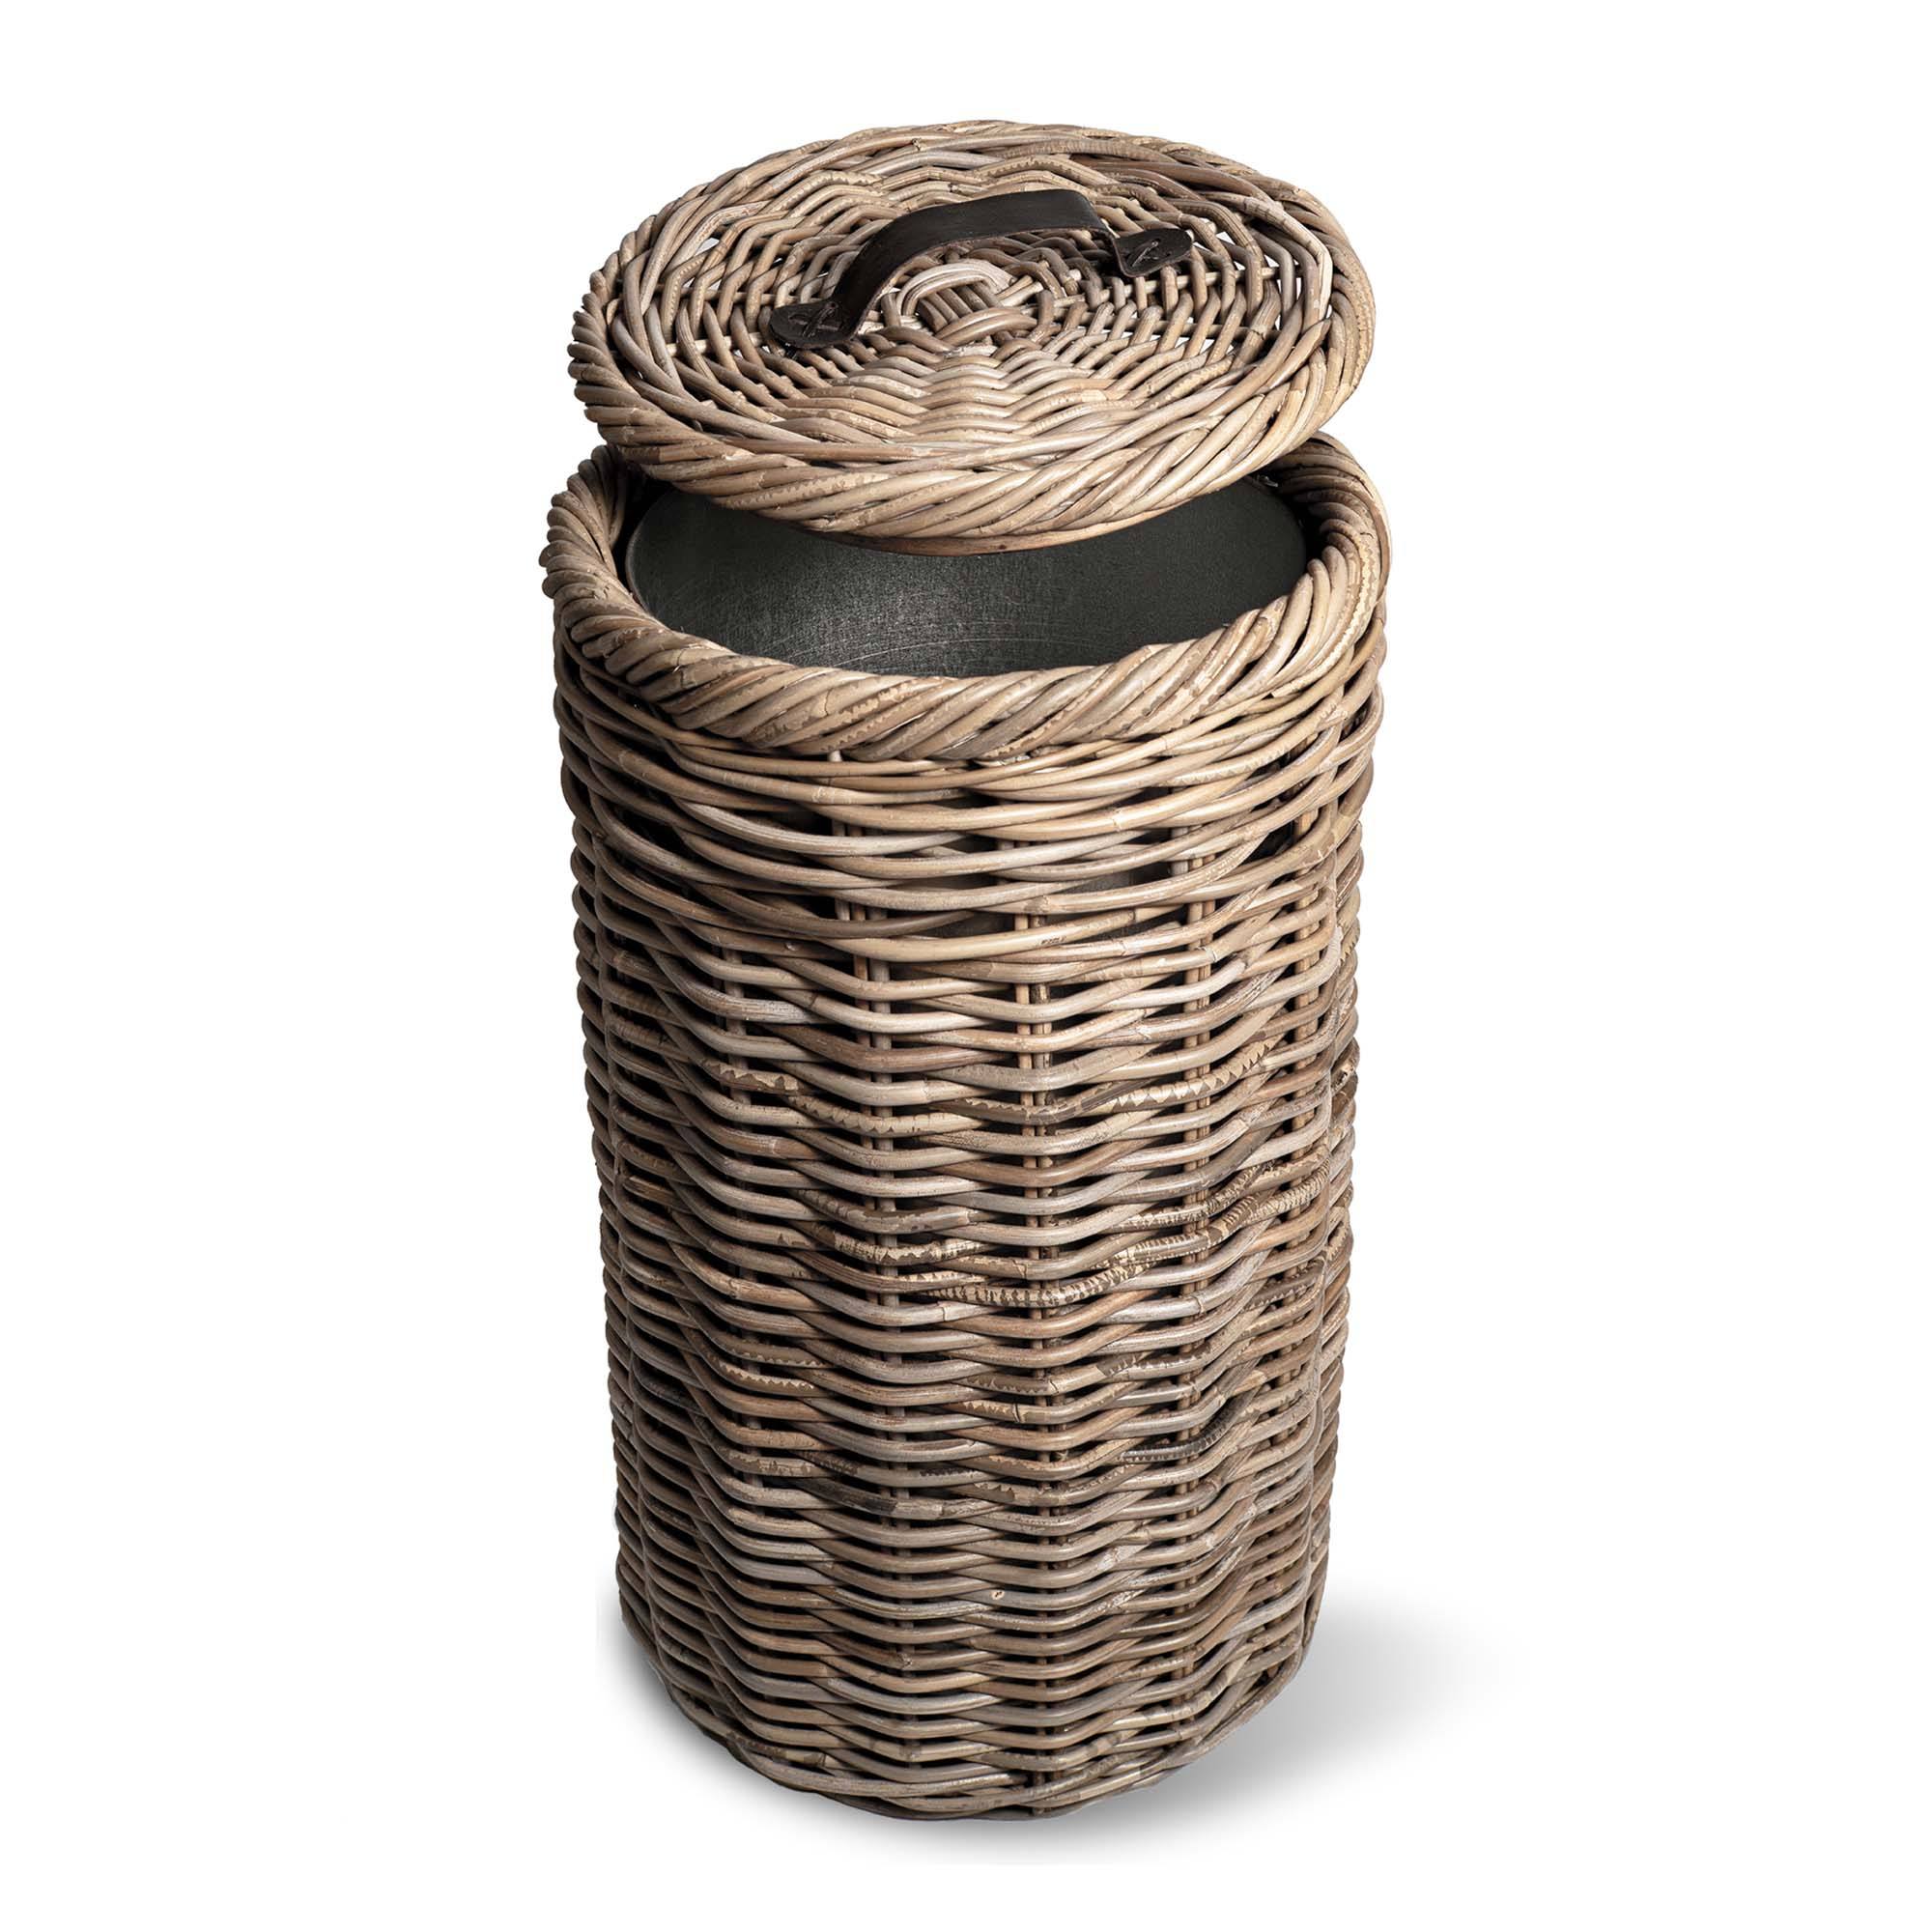
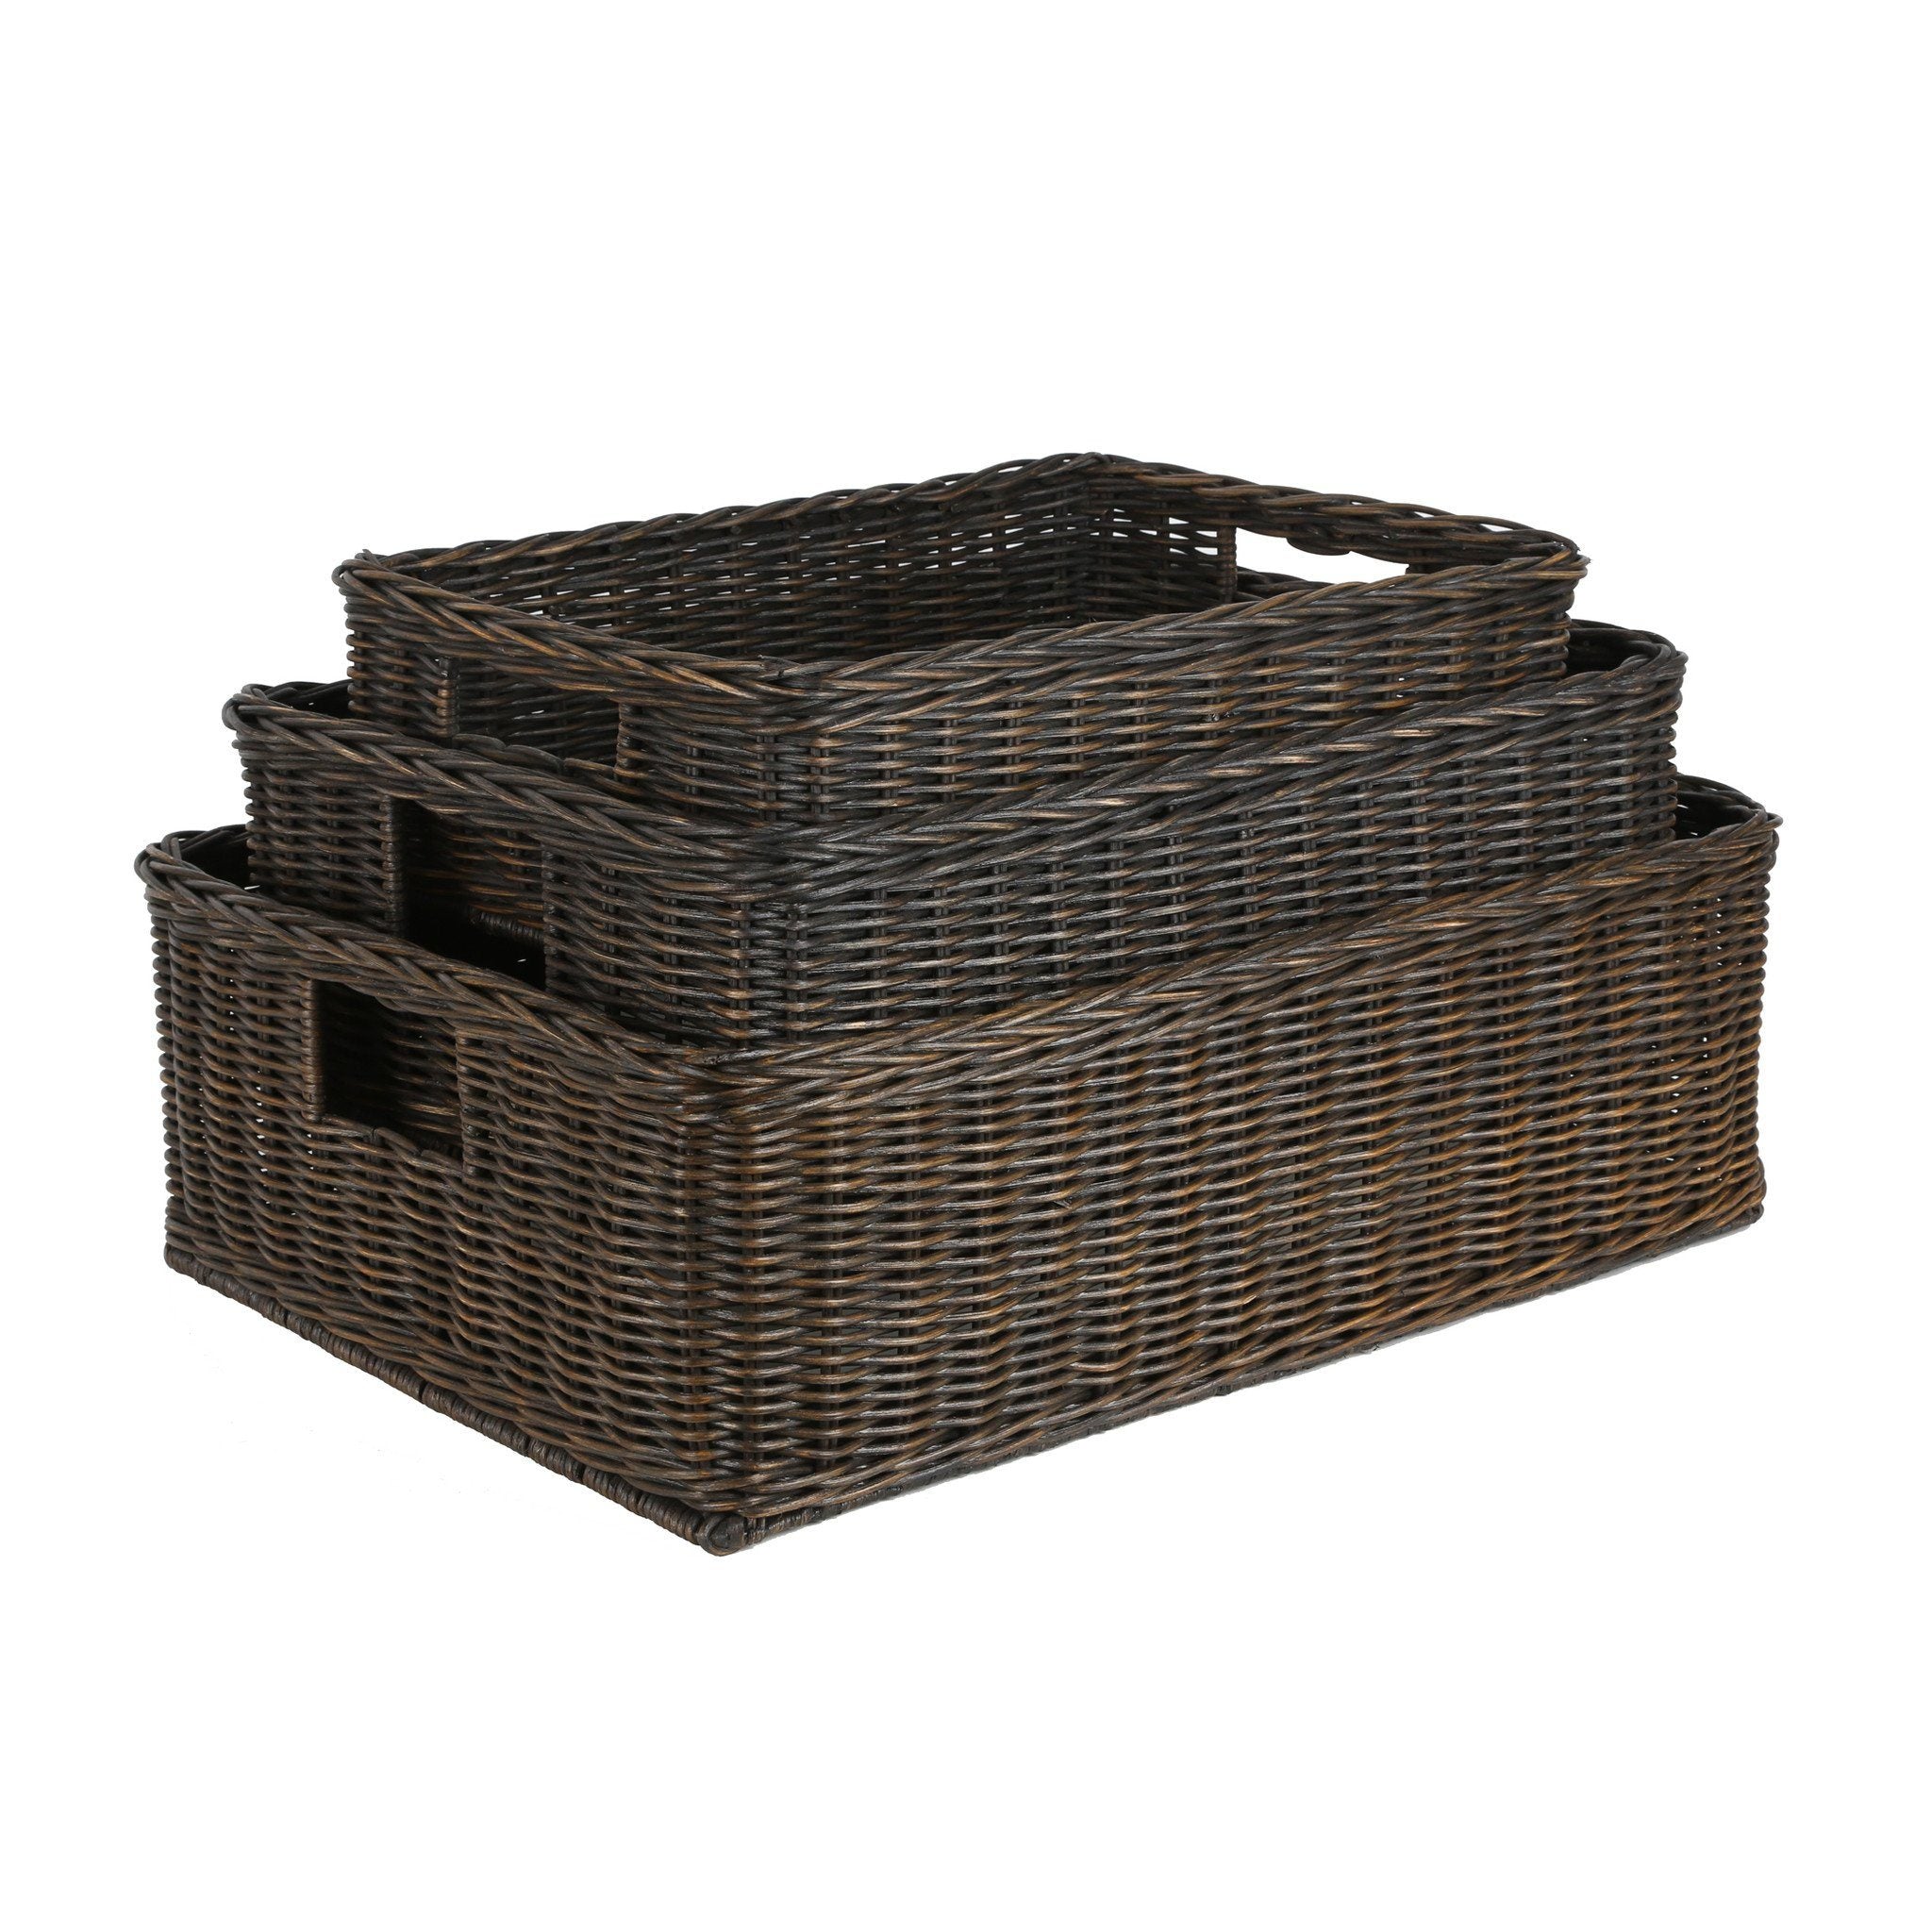
- - Our fancy wicker napkin basket (for the "water bucket")
- - Three dowel rods — as long as possible, middle thickness
- - Two pieces of cardboard
- - Craft Paint
- - Hot Glue
- - Duct tape (or other strong, thick tape)
- - Decor items, such as:
- - Silk flowers
- - Silk greenery
- - Wrapping paper
- - Mini chalkboard, chalk and twine
- - Ribbon
- - Paint
- - Fabric
Step One | Prepare the wicker basket
Take the wicker laundry hamper from its packaging and remove the tags. Assemble all the necessary tools and materials. You can add a liner if desired; however many of our baskets come with a beautiful liner already installed!

Step Two | Prepare the roof poles
Take the two dowel rods and place them inside the basket, opposite each other, at the desired placement. (Paint dowel rods before assembling, if desired.) You may want to experiment with placing them higher or lower in the laundry hamper, depending on how high you want your roof to ultimately be. Thread ribbon through the basket handle and use it to secure the dowel rods to the basket weave. You may want to do this in several places.


Glue a horizontal dowel rod to the two vertical dowel rods. This horizontal dowel will form the roof. The wicker napkin basket will also hang from the horizontal dowel rod.

Thread ribbon though the wooden handles of the fancy wicker napkin basket and hang from the horizontal bar that holds the cardboard roof. Tie the ribbon in place, or affix the ends of the ribbon together with hot glue. If you use a lidded hamper, simply decorate the open lid in lieu of a "roof."

Step Three | Create the roof
Now, cut out two halves of a cardboard to form the roof.


Take your two halves of cardboard. Paint them or wrap them in gift wrapping paper to match your color scheme. Position the decorated cardboard so they are at about a 90-degree angle and tape them firmly together. Then, set them on top the dowel rods. Secure cardboard roof to dowel rods with hot glue as needed to secure firmly.

Step Four | Decorate your wishing well basket
It’s time to start decorating!
Cover your wishing well with flowers, garlands, ribbon, or other decoration of your choice. Affix cutout letters that spell “Wishing Well” to the roof, or get creative with a chalkboard, glitter or other decorations.

We have no doubt your new wishing well basket will be the center of attention at your next shower event. And once the event is over, you’ll be able to gift the basket to the new couple, or return it to usefulness in your own home.
OPTION 2 - TABLETOP WISHING WELL BASKET

Compact but substantial, this wishing well project is great if you know you’ll have a long table to decorate. It makes a grand centerpiece, or a stately anchor to one end of a piled-up table of presents.
For this wishing well, you will need:
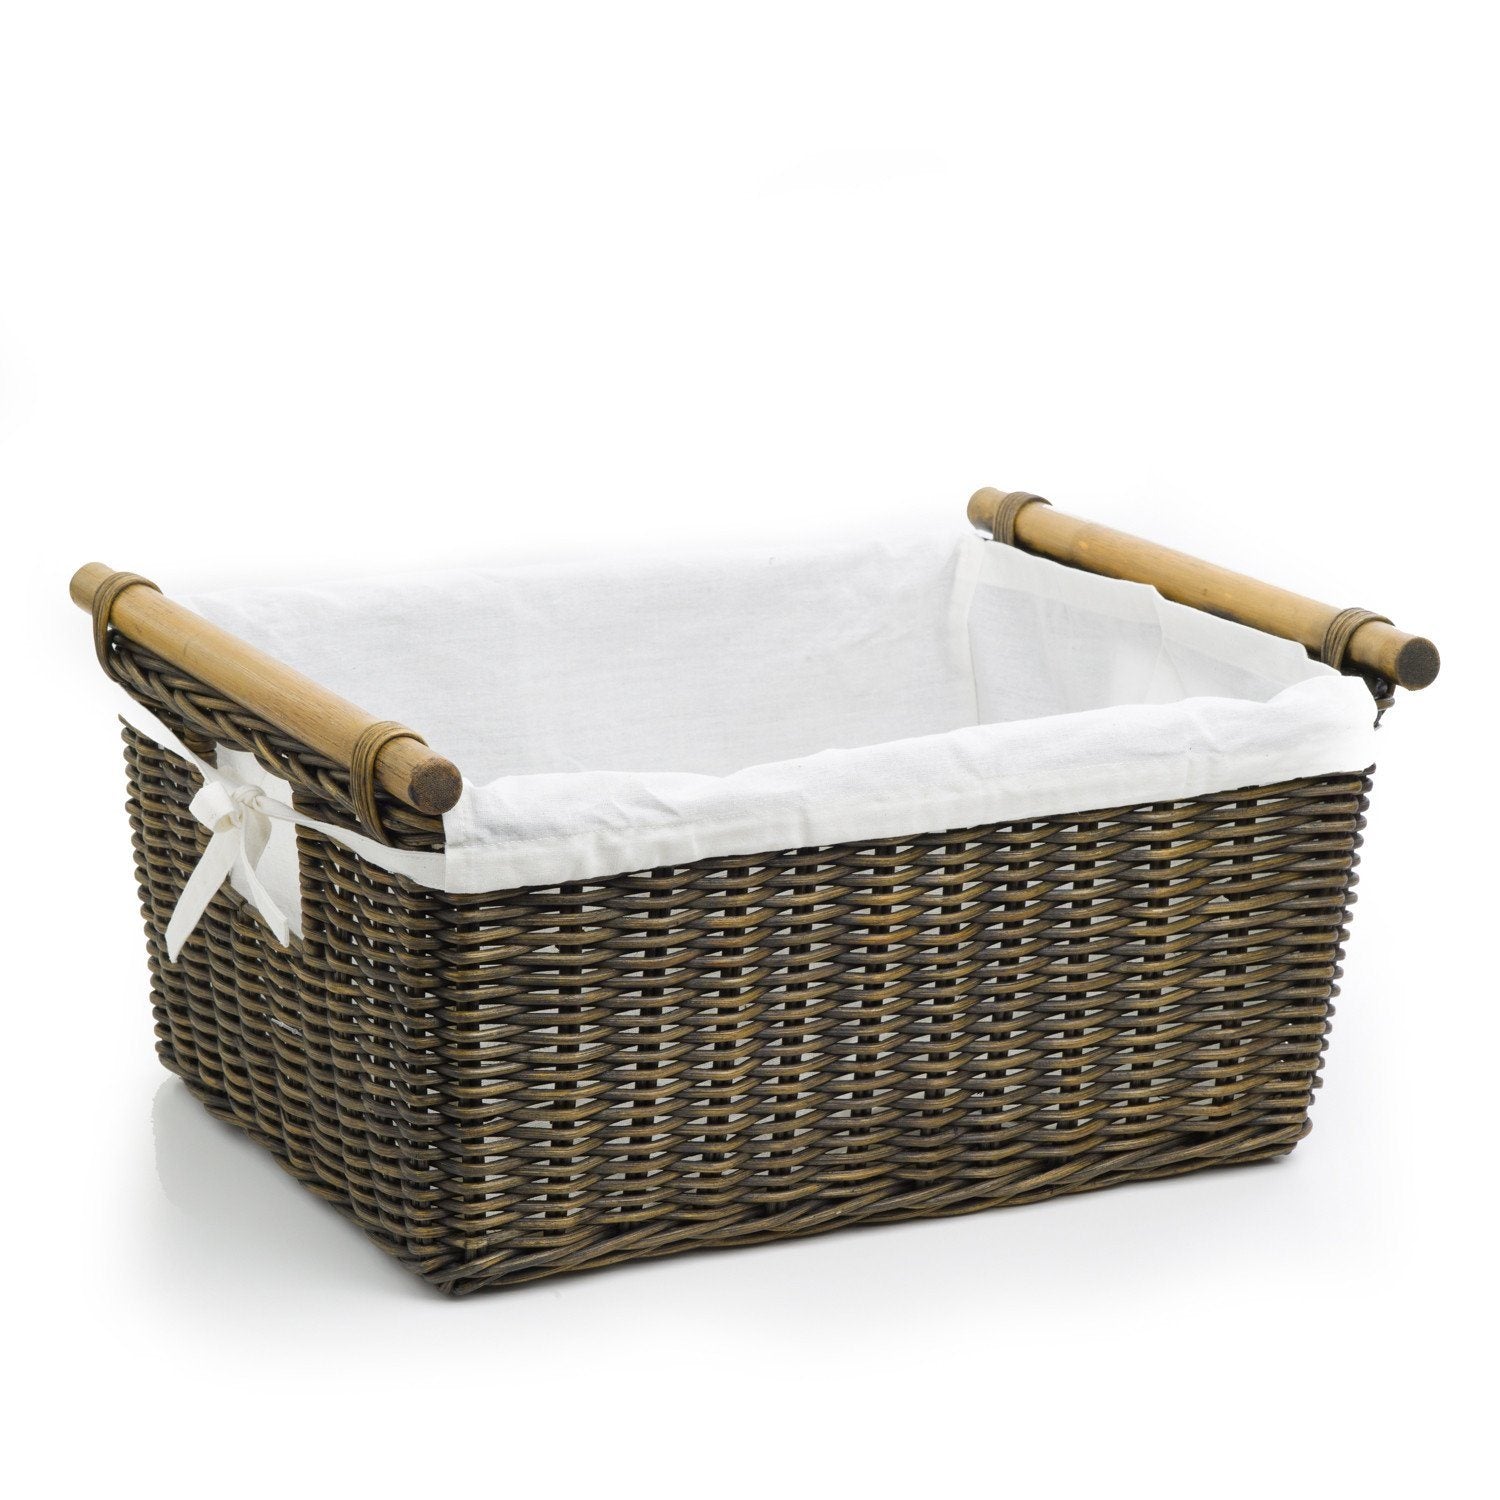
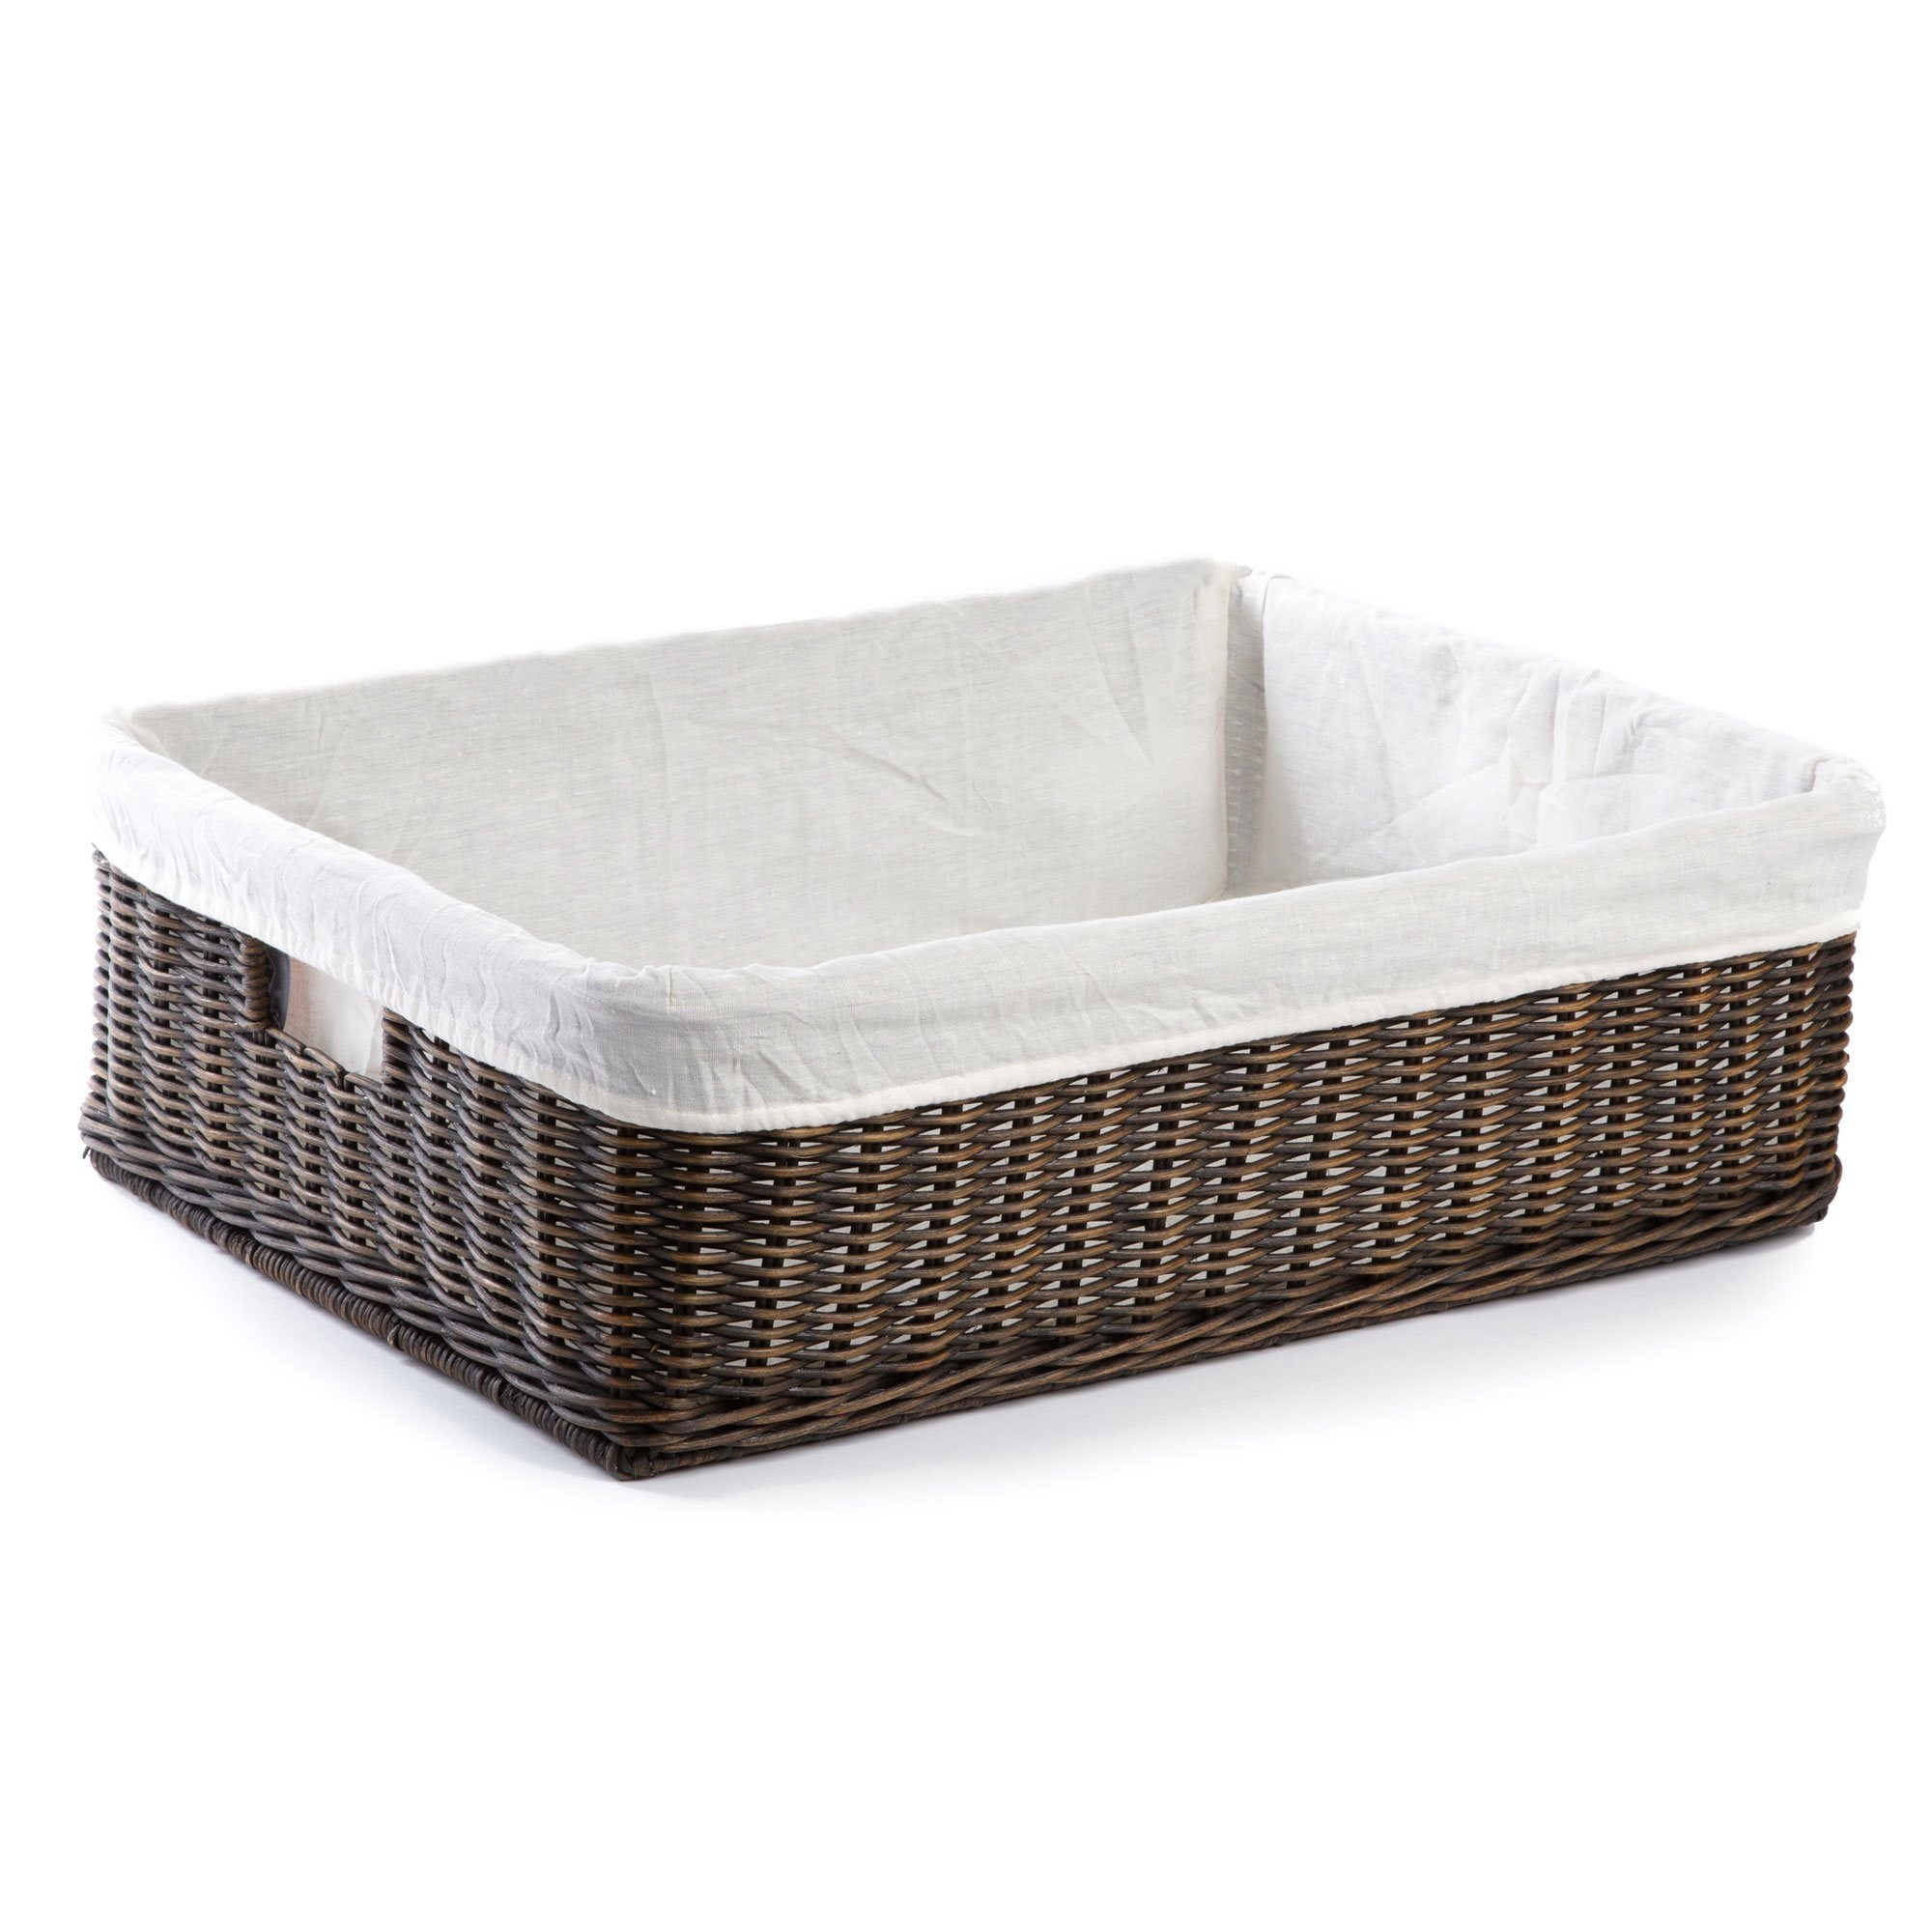
- Our Wicker Paper Storage Basket or Petit Pole Handle Wicker Storage Basket
- Bundle of pliable twigs (available at craft stores. We collected ours in the back yard!)
- Two flat cardboard pieces
- Craft Paint
- Hot Glue
- Duct Tape or other packing tape
- Twine or wire
- Silk flowers or greenery
- Other decor items, such as:
- Silk flowers
- Silk greenery
- Ribbon
- Fabric
Step One | Prepare the wicker basket
Take the petit pole wicker storage basket from its packaging and remove the tags. Assemble all the necessary tools and materials that you will need.

Step Two | Create the handle for the roof
Next, take the bundle of twigs and twist or braid them so that they stay together.

Bend the twig bundle and do the same to the other side.

Affix the handle to the basket using wire or twine. Make sure the handle is secure, stable and does not wobble.

Step Three | Add a roof
Finally, cut out two halves of a cardboard to make the roof.


Paint the roof on one or both sides as desired and to match your color scheme.

Tape them firmly together.

Then, set the roof on top the twig handle and glue with hot glue.

Step Four | Decorate
With your basket handle (and roof) in place, it’s time to start decorating! Take inspiration from your shower theme, if you have one, or try these favorites of ours:
- Wrap ribbon or flower garlands around the handle and top of the basket.
- Glue on silk flowers or butterflies.
- Spray paint the entire basket before decorating (Note: this will make your basket a permanent wishing well! Consider the basket’s future before electing this option.)


Bring to the shower and fill with cards and gifts for the lucky couple or parents-to-be!
Wishing you showers of fun from The Basket Lady!
We love hearing from our wicker basket fans, organizing enthusiasts, and home/interior decorators alike. Please leave a comment, feedback, or any other ideas you may have regarding our articles below. We greatly appreciate it. Thank you.
If you have reached this article through one of our social media sites and have not yet signed up for basket ideas and inspirations, sales promotions, and new basket releases through our Wicker Whimsy Newsletter, scroll down to the bottom of the page and submit your email address. We'll keep you well informed.
The Basket Lady is the world’s premier supplier of high-quality rattan and wicker baskets at near-wholesale prices. Contact us toll-free at 888-742-4172 or view our entire collection at BasketLady.com. Send us an email or visit us on Facebook, Pinterest, or Instagram.


